AFFORDABLE DIY UPGRADES
The Creality Ender Pro 3 is an affordable entry-level 3D printer that will appeal to a lot of enthusiasts, myself included. Yep, as interesting as this printer may be, you will soon find that it is rather lacking in various ways – Average print quality, cable management, noisy, poor design, etc…
But thankfully, the internet community sure offers a whole load of upgrade options that you can do-it-yourself. So here it is, a sharing of my experience and the upgrades that I printed for the Ender Pro 3 – Read on to find out!
P.S. Some of these upgrades require extra screws, bearings, and small hardware that you will need to purchase separately.
1) CABLE CLIPS
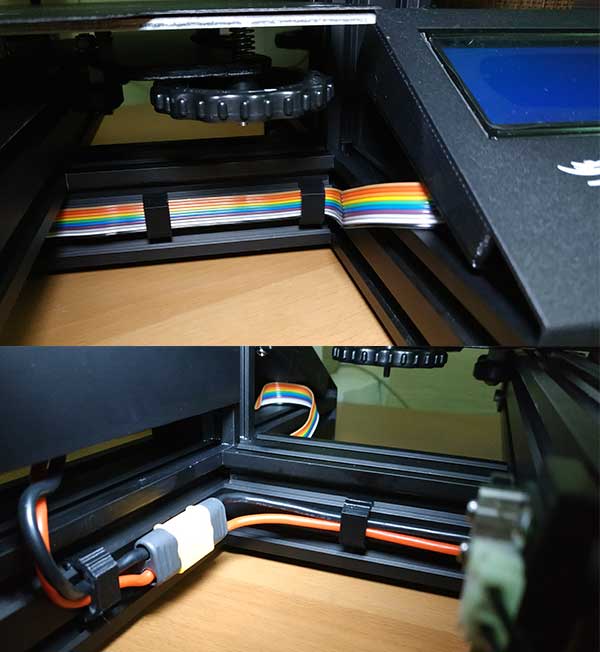
This is the number one easiest “upgrade” to do. Each one of these simple cable clips will only take 12 minutes to print, and it adds a lot to the poor “default” cable management – I have printed 6 of these to keep the LCD ribbon out of the way, and also the rear power line. No more messy cables and accidental snagging.
2) CABLE HOLDER (OR CHAIN)
Even more cable management. With the original setting, there is a chance that the X-axis and extruder cables can get caught below the heated bed. People have come up with a rather impressive cable chain to improve the design.
But personally, I just find the cable chain takes too long to print, and too much of a pain. This simple cable clip will do the same thing of keeping the cables out of the way. So… up to you to decide. Lazy or nice looking?
3) LCD PCB COVER
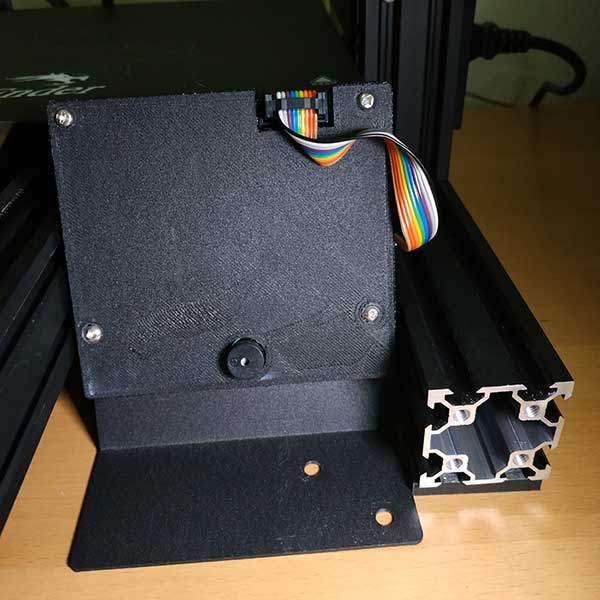
In case you have not noticed, the LCD panel comes with an exposed circuit board. It is a great idea for keeping it cool, except that the panel does not even get anywhere near “hot enough”… Above that, grabbing the circuit board and accidentally crushing it while pressing the knob is not a good idea.
So yep, just print yourself one of these circuit board covers to protect it. Please take note that you can reuse the bottom 2 screws from the existing circuit board, but the top requires longer M3x16 screws – Purchase it from your local hardware store, or alternatively, just tape the top part to the LCD screen.
4) METAL EXTRUDER
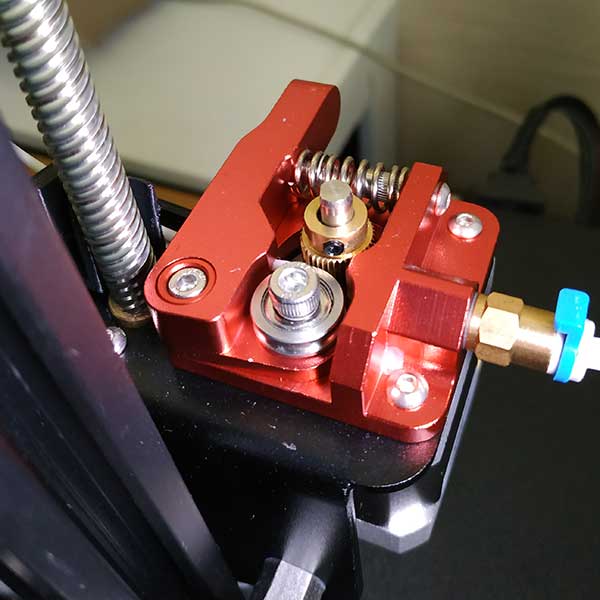
Following up, we have a series of extruder upgrades… Because the default mechanism is pretty horrible. Starting up, we have a metal extruder replacement – This one is way more solid than the original that is made of plastic. No worries that the filament or spring is going to “eat” into the metal. Just print with a piece of mind, and it only costs about 5 bucks.
5) FILAMENT GUIDE (TOP)
There have been some reports of the filament breaking with the original “feed straight down” construct. This is just a simple arm to reduce stress on the filament roll and prevent breakage.
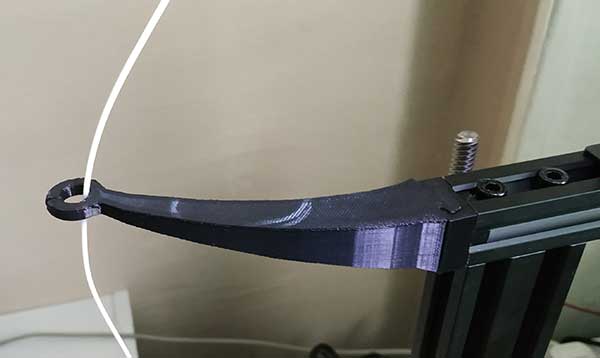
6) FILAMENT GUIDE (BOTTOM)
The original intention of this upgrade is actually not so much of a guide, but to prevent the filament from touching the greasy Z-axis screw rod – Which might result in a fire when grease is fed into a 200-degree Celcius extruder head. There are quite a lot of these filament guides on Thingiverse, but I initially got this one because of the pretty simple design.
This worked well for a while until I later found the filament to be grinding against the hook… So I just took it off with a pair of snippers. Problem solved – The hook does not serve many purposes anyway, as long as it still acts a guard, then it is good.
7) CAPRICORN BOWDEN TUBE
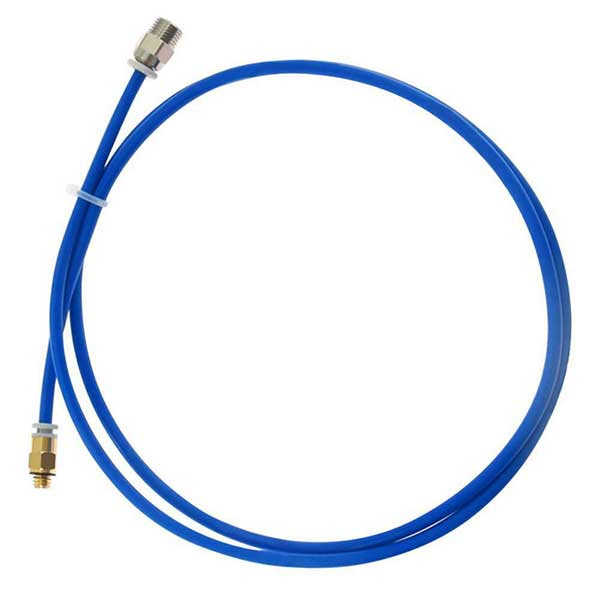
Some people have reported that the original white tube melts at a higher temperature. The Capricorn tube is supposedly better with high heat tolerance… But personally, I didn’t have any trouble with the original at all. Maybe it’s an updated version, and remember – Always let the head cool down for a while after printing.
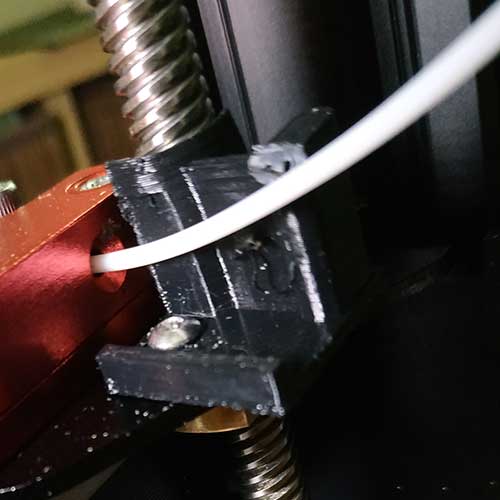
8) PRESSURE FITTING
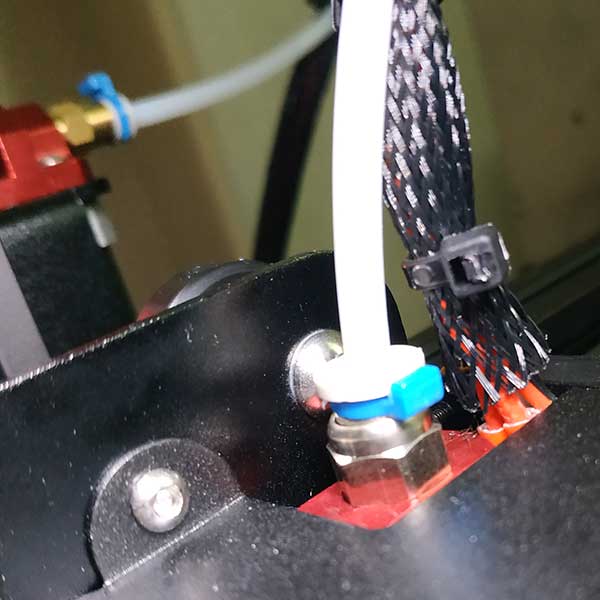
The newer Ender 3 models should come with a few of these, just clip it on to prevent the Bowden Tube from sliding off.
9) EXTRUDER KNOB
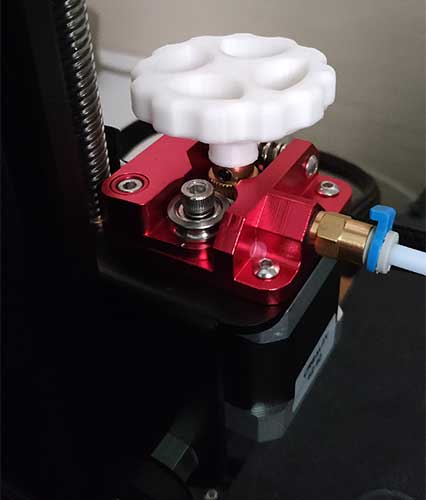
Just a nice small “extension” to print out. Somewhat makes the loading and unloading of the filament a little easier.
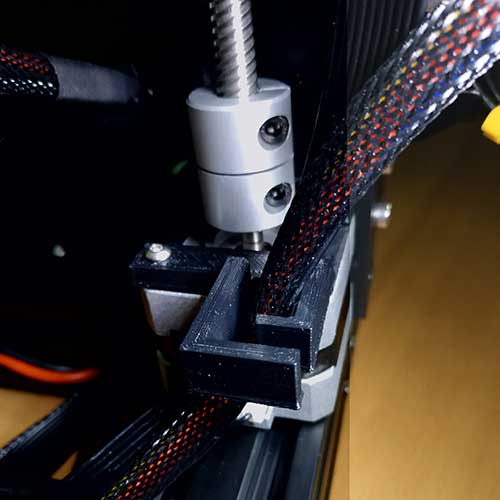
10) Z-AXIS STABILIZER
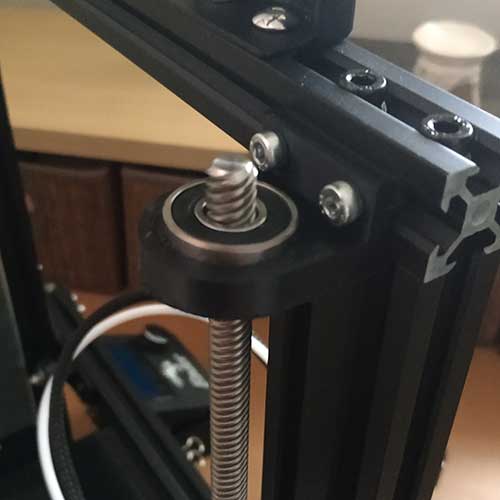
This is one upgrade that makes me wonder – Shouldn’t it be included in the default package in the first place!? In the original design, the screw rod is pretty much just free standing on top of the stepper motor… Any careless bumps can break or misalign it easily. Definitely recommended.
P.S. You need to buy an additional 608-2RS bearing (commonly used for skateboards) for this one.
11) STEPPER MOTOR DAMPER
Be warned that this upgrade is not going to be as straightforward. It is quite a royal pain to do, but pretty well worth the effort. If you have been printing for a while, you will notice that the stepper motors are pretty noisy, and it vibrates quite a bit against the aluminum profile. So the idea here is to add dampers to reduce both the noise and vibration levels.
But as you can guess, adding a piece of damper to the stepper motor is going to increase the thickness a little – We need to offset the position of the pulley to connect the belt properly. So here comes the first challenge, the pulley head is press-fitted on newer Ender designs. It will not come off easily, nor is it easy to adjust.
I will suggest printing the removal tool to extract the press-fit pulley, and probably replace it with one with a screw. Ender 3 uses 2GT-20 teeth pulley and the inner hole is 5mm.
12) TL SMOOTHER
This final upgrade is a little bit on the “advanced” side. We will need at least 2 TL smoother circuit boards for the X and Y-axis. In the layman terms, these circuit boards will smooth out the movement of the stepper motors, effectively giving you better prints… But personally, I find that messing around with the print settings is still the better and free way to great quality prints.
WORTH IT

All of these upgrades may take several days or even weeks to do. But at the end of it, you will definitely see an improvement in the quality of your prints – So yes, have a little bit of patience, and it will be well worth the effort.
Thank you for reading, and we have come to the end of this guide. I hope this has helped you to create better prints, and if you have anything to share with this guide, please feel free to comment below. Good luck and may the cyber force be with you.