I have made extensive upgrades on my Ender 3 V3 SE over time, and printed hundreds of pieces with it. Just which are worth it and which are “skippable”? Here are my takes.
DISCLOSURE
This post contains affiliate links. They do not cost more, but I will receive a small commission when you make a purchase. Thank you if you make a purchase from the recommendations, that will help to offset some of my running costs and for my future projects!
1) NEBULA KIT
Price : About $70
Purchase : Nebula Kit
Links : Installation | Root The Nebula Pad | Recovery | Adapter | G-Sensor Holder Extruder | G-Sensor Holder Hot Bed
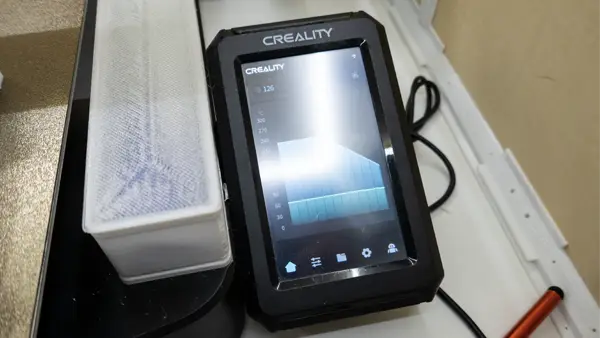
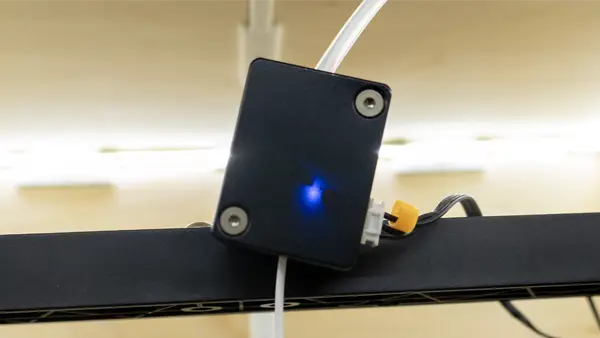
This is one of the more expensive upgrades, but I think it’s a worthy one. It “unlocks” wireless printing, AI failed print detection, timelapse, finetuning, and an overall improvement in print quality. Rooting/unlocking the Nebula Pad will unleash even more controls and features.
P.S. The kit comes with Nebula Pad, Nebula Camera, and G-sensor. So yes, a pretty good “all in one” package.
P.P.S. If you don’t want to spend too much money, Klipper can also be installed on an old smartphone/laptop/Raspberry Pi Zero 2W.
2) SIDE SPOOL HOLDER

Price : About $5 (Actually free if you reuse the original parts)
Purchase : Ball Bearing Spool Holder (Optional) | Teflon Tube (Optional)
Links : Spool Stand
The default placement of the filament spool on top of the gantry works, but it vibrates whenever the spool turns. Just print a spool holder base, move the spool to the side. If you want it to be even more smoother, use a ball bearing spool holder with teflon tube guide. This simple change will reduce the vibration and improve print quality.
3) FILAMENT RUNOUT SENSOR
Price : About $7
Purchase : Runout Sensor
Links : Installation
You can live without a runout sensor. But this will pause the print when the filament runs out, allowing you to refill and resume – Don’t need to trash and restart the entire print. It’s a cheap “convenience upgrade”, so why not?
4) X-AXIS LINEAR RAIL
Price : About $22
Purchase : X-Axis Linear Rail
Links : Installation
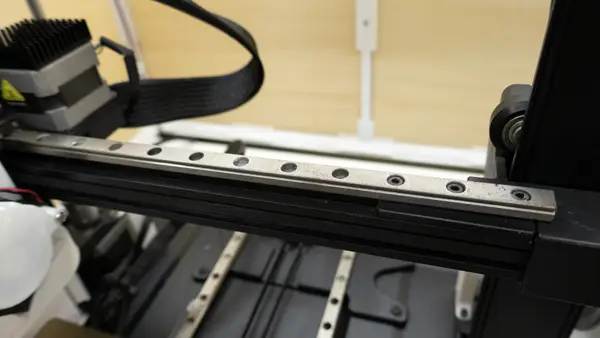
If you can find one of these at a discounted rate – Grab it. About 20 bucks is a pretty acceptable price to “kind of improve” the stability and print quality. Otherwise, the default wheels work just fine.
5) Y-AXIS LINEAR RAILS
Price : About $42
Purchase : Y-Axis Linear Rails
Links : Installation
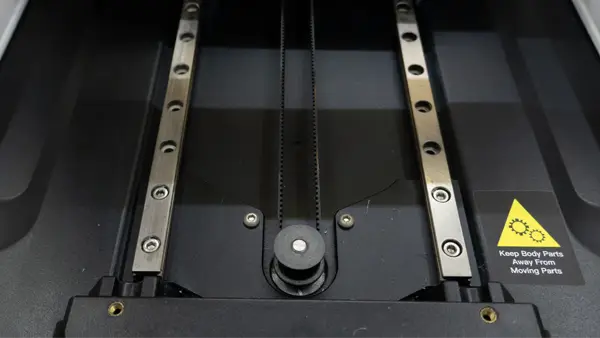
These are on the expensive side, not worth the money if you are expecting “stellar print quality improvements”. But if you decide to purchase this, check out my next upgrade – Reusing the y-axis rods to brace the z-axis.
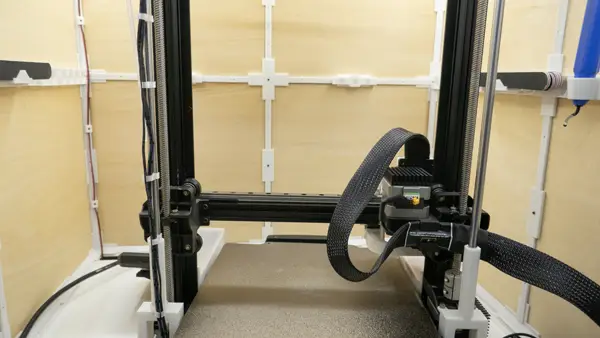
6) Z-AXIS BRACE
Price : Nearly Free (At least for me)
Links : Installation | Z-Axis Brace
I kind of regretted getting the y-axis rails. So I decided to make full use of the y-axis rods, recycle them to brace the z-axis. It worked pretty well and I am happy with the “upcycle upgrade” – Making it worthwhile to upgrade both Y and Z axis at the same time.
7) STORAGE BINS

Price : Nearly Free (At least for me)
Links : Installation | Z-Axis Brace
An addition I made to my z-axis brace project, add some storage bins. Yes, you can add these without the z-axis brace. This is a super low cost upgrade, just print the base and bins.
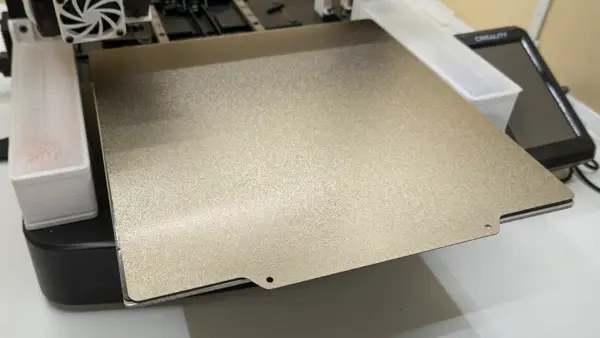
8) BUILD PLATE
Price : Varies, $5+
Purchase : Ender 3 Plate | Cryogrip
The original plate is horrible. It sticks way too much, to the point where the bottom layer will be destroyed when you try to remove prints. Get yourself a textured PEI plate, I have printed hundreds of pieces with it and the fail rate is minimal. You can also try the slightly more expensive “Cryogrip”, it allows you to print with lower temperature.
P.S. Ender 3 series has a printable area of 220 X 220, but the build plate is 235 X 235.
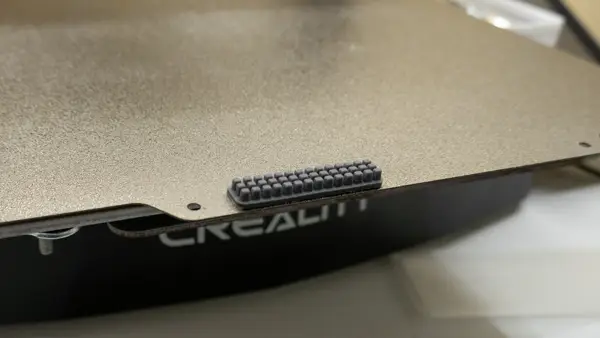
9) SILICONE BED SPACERS
![]()
Price : About $1.5 for a pack of 4.
Purchase : Silicone Bed Spacers
Links : Installation | Shims
Silicone bed spacers technically better absorb vibrations than the original plastic ones. Technically. I have not seen “miracle improvements” or even “visible improvements”. At least they are cheap.
Note : 2 X spacers on the left are 14mm, 2 X spacers on the right are 16mm. I can’t find suppliers that sell the exact height, you may need to use shim to adjust.
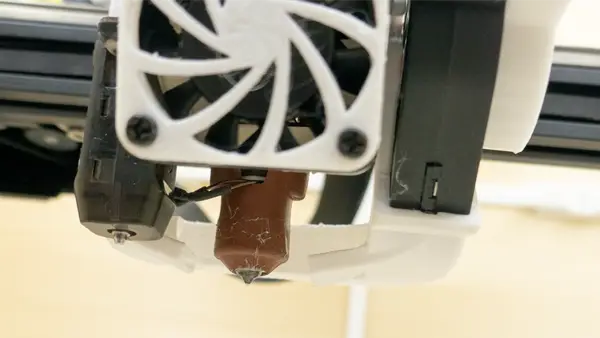
10) QUICKSWAP HOTEND
Price : About $25
Purchase : Unicorn Quickswap Hotend
Links : Installation
This is a rollercoaster for me. I had a catastrophic failure with the quickswap hotend, where the hotend dislodged after several prints. Switching out two screws fixed the issue, Creality has also quietly fixed this problem in later batches. Will I still recommend the quickswap hotend? Kind of… It still enables you to print “advanced filament” such as Nylon and polycarbonate. It also heats up quickly, saving you time.
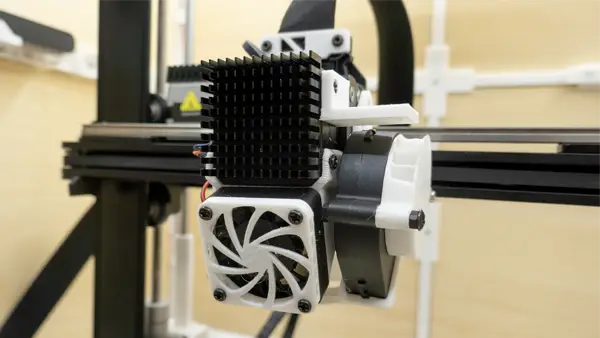
11) EXTRUDER FANS & HEATSINKS
Price : $10 (For both 4010 and 5015 fans)
Purchase : 24v 4010 Fan | 24v 4020 Fan | 24v 5015 Fan | JST 1.25 Connector
Links : Installation | Fan Mounts | 4040 Quiet Fan Grill | 5015 Silencer
The original 2510 fan is ANNOYINGLY loud. Just spend $10, swap out with a 4010 and 5015. That will effectively cut the noise from 70+ dB to 50+ dB. It’s not only the noise, it also cools better with the larger 5015 fan, giving you better prints.
12) NOZZLE BRUSH
Price : About $1.7 for 5 pcs.
Purchase : K1 Nozzle Wiper
Links : Installation | Nozzle Cleaner Holder
A fun and useful little addition. Just stick the brush on the build plate, add a small G-Code segment, and this will clean the brush before prints.
13) CABLE CHAINS
Price : $2.5++
Purchase : Cable Chain (If you don’t want to print)
Links : Cable Chain
I’ve printed these for my older Ender 3 Pro. They did nothing. To be fair, cable chains may be useful for some people as cable management. But personally, they are more “cosmetics” than “functional”.
ENDER 3 V3 SE UPGRADES PLAYLIST
Check out my entire Ender 3 V3 SE upgrades playlist on YouTube if you are interested. Enjoy, and happy upgrading!