Welcome to a quick guide on the parts of the Ender-3 3D printer. Planning to do some DIY upgrades to the printer? Looking for replacement parts? The original manual only walked through the assembly and did not quite state all the dimensions. So here it is, a compilation of all the parts, to the best of my knowledge – Read on!
P.S. I only have an Ender-3 Pro, but the “common parts” on Ender-3 and Ender-3 Pro V2 should be pretty similar. Comment below if I got some parts wrong, and if you want to contribute to the list.
ALUMINUM EXTRUSION FRAME
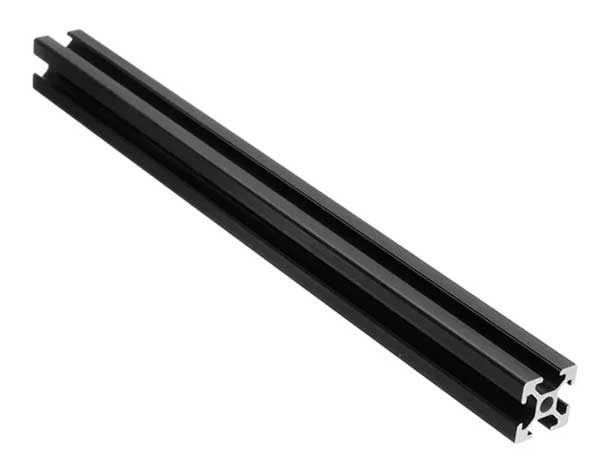 Standard v-slot aluminum profile. These are easily available everywhere on the Internet and in hardware stores, very affordable too. The Ender-3 uses a mix-and-match of various sizes:
- 2020 aluminum extrusion (20mm X 20mm)
- 2040 aluminum extrusion (20mm X 40mm)
- 4040 aluminum extrusion (40mm X 40mm)
On my Ender 3 Pro, the exact part sizes are:
| Section | Parts |
| Base | 2 X 4040, 290mm
1 X 4040, 250mm |
| Y-Axis “Rod” (forward-backward) | 1 X 4040, 350mm
Take note – the older Ender 3 uses 2040 instead. |
| X-Axis “Rod” (left-right) | 1 X 2020, 345mm |
| Z-Axis “Stand” (up-down) | 2 X 2040, 420mm… Technically, this can be customized to be as high as you want. |
| “Top Piece” | 1 X 2020, 330mm |
Since these are industry-standard aluminum profiles – All standard aluminum profile connectors and braces will fit.
P.S. The Ender-3 profiles are pre-cut to various lengths and have pre-drilled screw holes. So unless you have the means to cut and drill the profiles yourself, replacements are not recommended.
P.P.S. There is another type called the t-slot aluminum profile. They look similar, but the difference is in the center groove – Read this beginner’s guide if you want to learn more.
SCREWS
 Ripping this straight from the Ender-3 assembly manual, mostly standard M4 and M5 hexagonal screws.
- M5 T-Nut
- M5 X 8
- M5 X 25
- M5 X 45
- M4 X 16
- M4 X 18-P
- M4 X 20
Z-AXIS ROD
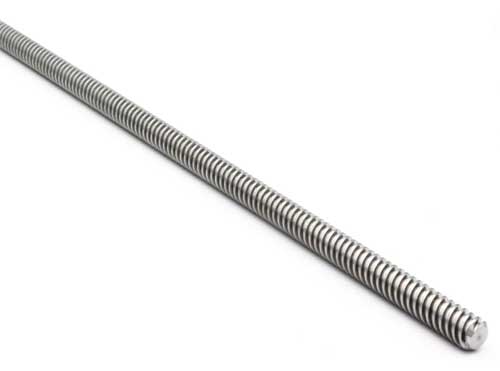
T8 screw rod, 400mm length… But technically, we can extend this to as high as we want.
SHAFT COUPLER
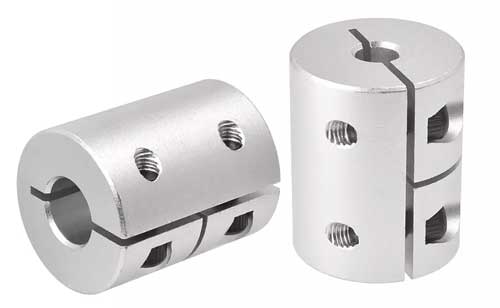
This is the “thing” that holds up the z-axis rod. Standard T8 lead screw, D20 5 x 8 x 25mm.
STEPPER MOTORS
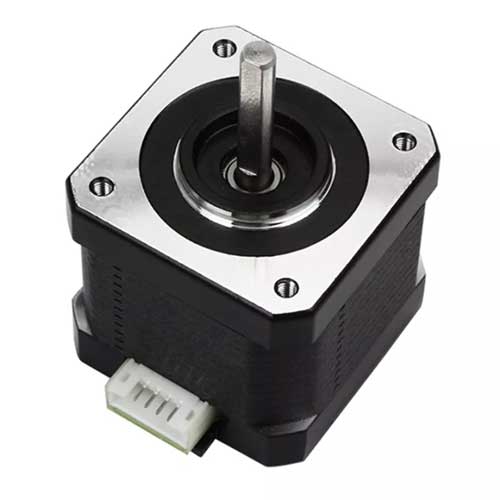 Standard NEMA 17 stepper motors. Noisy buggers, but at least they are easy to find and replace.
TIMING BELT
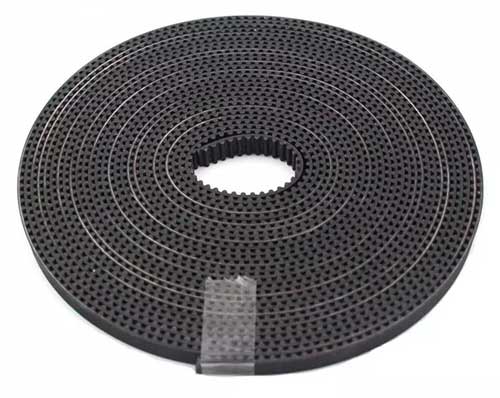 Standard GT2. 2mm pitch, 6mm wide. As for the length, these are contributed by people on Reddit:
- 765 mm on the x-axis.
- 720 mm on the y-axis.
Things will be easier if you have a belt tensioner, just buy one long roll and cut it yourself.
TIMING PULLEY
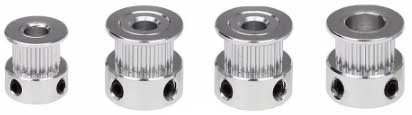 Deez Nuts are attached to the end of the stepper motor. GT2, of course. 20 teeth, 5mm bore.
FILAMENT NOZZLE
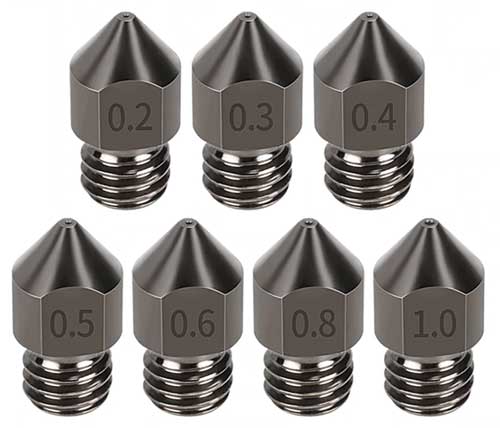 The “factory default” nozzle size of the Ender-3 is 0.4mm. But some people swap a larger diameter to “print faster”, and some swap a smaller diameter to “print finer”. Not sure how much of a difference it makes, but check out this post if you are interested to know more about the nozzle size.
COLLER FAN
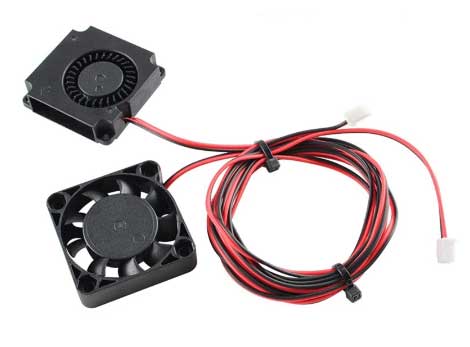
40 X 40 X 10 mm fan, 24 V 0.1 A… Sometimes also known as 4010 DC fans. Some people may be thinking of getting “upgraded” fans, but the key is to control the temperature. You do not want the filament to cool too fast and harden too early. Neither is “hot and squishy” filament a good idea.
FILAMENT TUBE
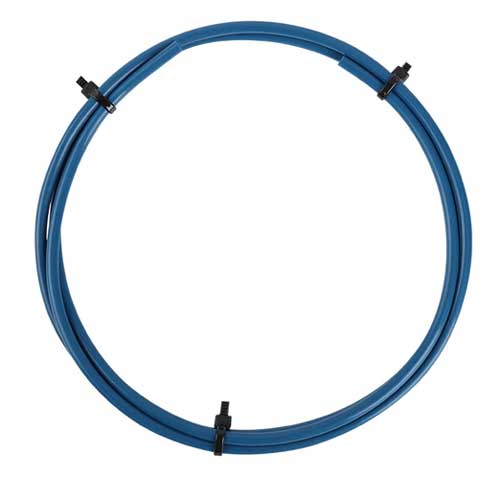
The standard diameter of filaments is 1.75mm, and the diameter of the tube itself is 2mm. As for the length… You will have to guesstimate. So long as it can reach end-to-end, it works.
ENDSTOP SWITCH
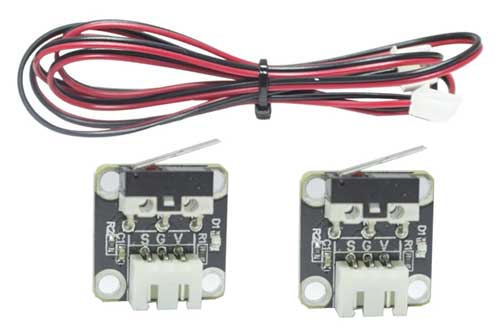 Also sometimes known as the “limit switch”. I am not quite sure if these are standard switches or an “Ender-specific switch”. In any case, they are easily available online.
HOTBED
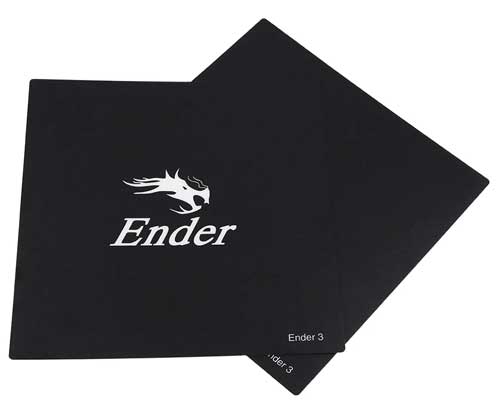 Approximately 235 X 235 mm.
POWER SUPPLY
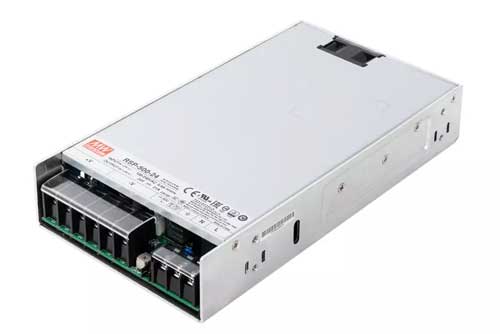 The original power supply is 24V 15A. But subjective again, if you want to upgrade to a better 24V power supply – Go ahead.
POWER CABLE
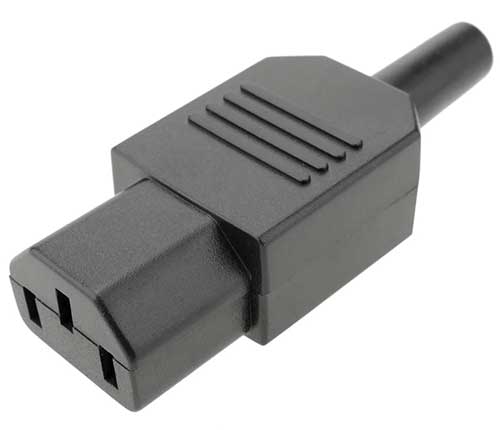
IEC 60320 C13, otherwise also known as the common “kettle plug”.
MOTHERBOARD
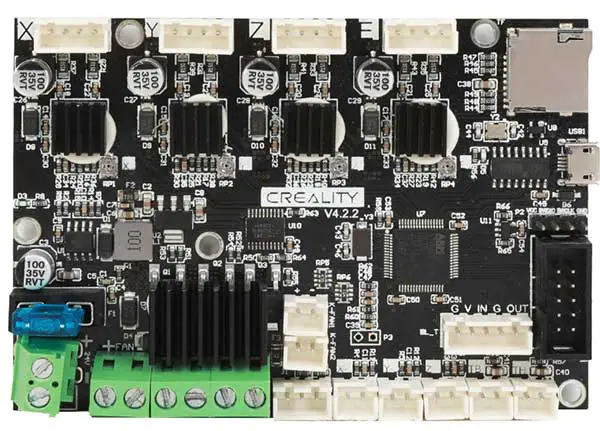
- The “original” Ender 3 comes with a version 4.1.1 motherboard. They can be easily identified, as these motherboards are using the old mini USB. Don’t think these are available in the market anymore.
- The later Ender 3 pro, Ender 3 pro V2, and Ender 5 models come with V4.2.2. Then, they are further upgraded to V4.2.7. Yep, you guys who are still using the older 4.1.1 can technically upgrade to the newer version. They supposedly have better stepper motor control, are more quiet, prints better, and are backward compatible.
- Finally, some people prefer to switch to the “alternative” SKR Mini E3 motherboard. Not sure about this one, as I have not personally tried it. Just do a quick search on YouTube videos if you want to find out more.
DISPLAY SCREEN
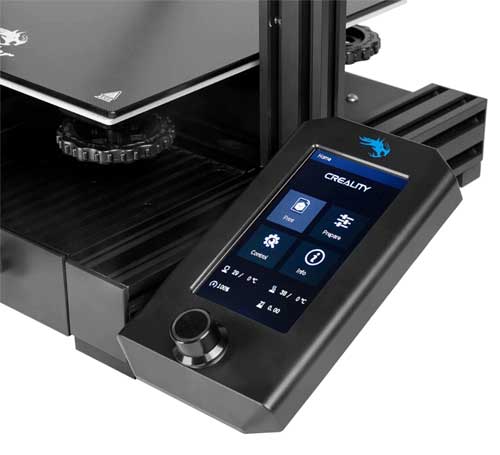 There are now 3 different “types” of screens for the Ender-3 models:
- 12864 LCD screen – The older black-and-white screen for Ender-3 and Ender-3 Pro.
- Color LED screen – I cannot find any model information on this. But the later Ender-3 Pro V2 comes with this one. Not a touch screen though.
- Touchscreens – Yep, some third parties also offer touchscreen kits to upgrade the older Enders.
THE END

Thank you for reading, and we have come to the end of this guide. Please comment below if I got some parts wrong, missed out on some parts, or if you have anything to share with this guide. Good luck and happy printing.