INTRODUCTION
VERY AFFORDABLE LIGHT TENT
Welcome to a guide on how to make a DIY light tent. Just started on photography and don’t want to spend too much money on a light tent? Just need something simple for your own product photography? Or maybe you want to make a friend regret spending way too much money on a light tent. 😆
Anyway, a search on the Internet will turn out several “recycled cardboard and paper light tent” … Which I figured will be a real fire hazard. Yes, paper burns when we put red-hot lights beside it long enough, and the boxes are not really portable.
So I channeled my inner geek and collected some of the good ideas over the Internet – This is how I made a foldable light tent using a laundry basket from a discount store for a measly US$3, and it will not catch on fire. Read on!
NAVIGATION
TABLE OF CONTENTS

Section A |

Section B |

Section C |

Closing |
SECTION A
THE BASICS
All right, let us now get started with the basics – The parts and materials required to make the light tent.
PARTS & MATERIALS LIST
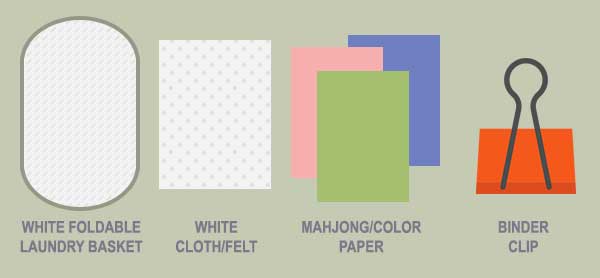
| Component | Price (USD) | eBay | Notes |
| Foldable Laundry Basket | $1.00 | Click Here | I just got one from Daiso. There might be similar laundry baskets from Walmart, Target, or 99 Cents Store… Alternatively, you can buy it online for a little bit more. Oh, and remember to get a white one. I made a bad mistake of getting a pink one, will explain more in the build section below. |
| White Felt | $1.00 | Click Here | I got a piece of white felt to act as the diffuser for the lights, but any piece of white cloth lying around will work. I don’t really like using paper here, they get dirty and tear pretty easily… They might also catch on fire if you are using lights that generate a lot of heat. |
| Mahjong/Color Paper | $0.50 | – | I used a large piece of mahjong paper as the background. You can use any colored paper (black, red, green, blue) as you see fit. |
| Binder Clip | $0.50 | Click Here | Just a clip to hold the paper background in place. |
| Plexiglass | $2.00 | Click Here | Optional. Place the product on top to create that “reflection” effect. |
The total cost – $3.00. Yes, not joking.
REQUIRED TOOLS
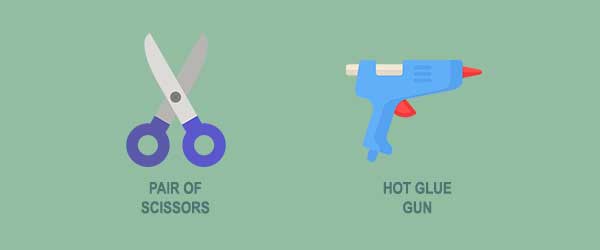
No complicated tools required, just a pair of scissors and glue. Yes, that’s it. If you don’t have a hot glue gun, just any glue that sticks well enough will do. I used hot glue here just for that “extra safety”, to make sure that the light tent doesn’t fall apart in the middle of a shoot.
THE YOUTUBE VIDEO
SECTION B
DIY STEPS
With the basics out of the way, let us now get into the steps for building the light tent.
Step 1) Cut out the existing netting

I just grabbed a pink laundry basket from the pile and went straight to the cashier without thinking too much. As a photographer, this is one of the worst mistakes to make – I should have known that a pink fabric is going to cast a funky color tint when light shines on it. Not good for a light tent, so I had to cut out the existing pink fabrics.
When buying your laundry basket, please make sure it is white or grey to prevent a bad color cast. You can probably skip this step too.
Step 2) Replace with felt

Next, I used hot glue to attach the felt sheet onto the wireframe. I made another bad mistake here – Should have glued the felt to the insides of the box and not outside. This way, the felt will cover up the ugly wireframe, further reduce any color cast, and make it look seamless.
Step 3) Remove excess material

After getting burnt a couple of times with hot glue, the light tent is finally finished… But as I couldn’t get it to fold properly, cutting off some of the extra felt did the job.
Step 4) Put the background in

Before using the light tent, just place a sheet of color paper to act as the background. Secure the paper to the light tent with a simple binder clip.
Step 5) Light it up!
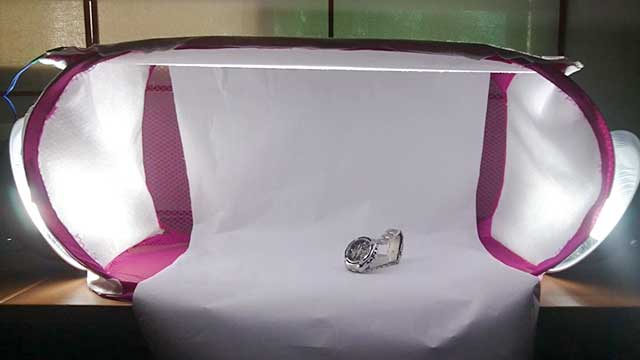
Finally, just place a light on the top of the light tent – You can use any table lamps lying around, or a simple LED light bulb. Optionally, add some lights to the side if you want a more balanced exposure.
EXTRA
USEFUL BITS & SAMPLES
That’s all for this guide, and here is a small section on some extras and links that may be useful to you.
SAMPLES AND MISTAKES
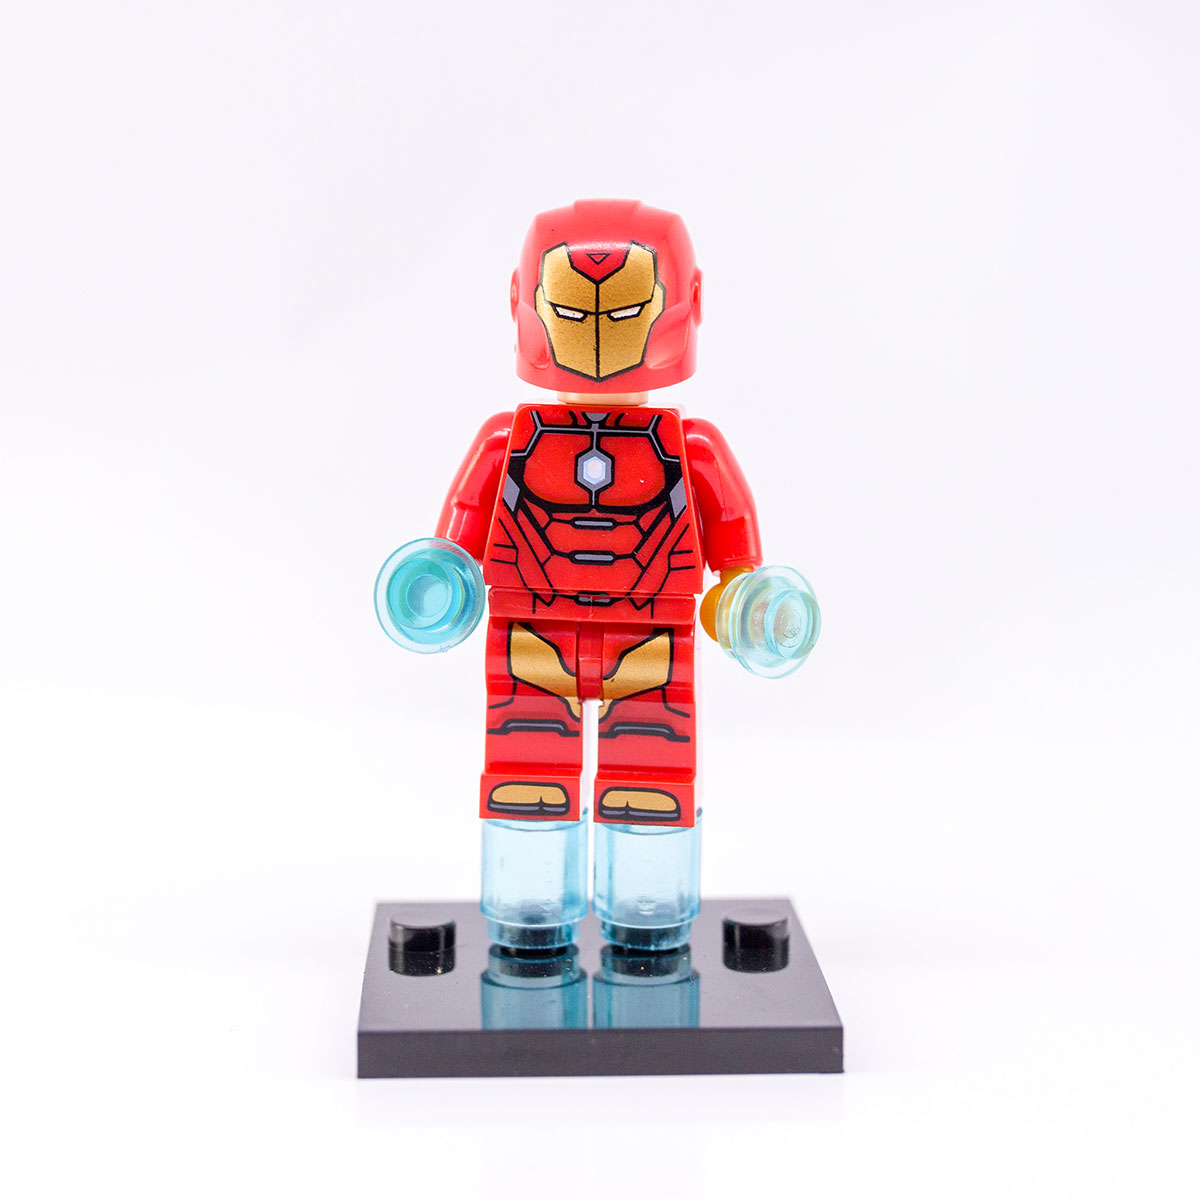

The light tent works sufficiently well, but you eagle-eyed folks should be able to spot the hiccup right away. While a little bit of Photoshop magic cleaned up most of the stuff, you will realize that there is a slight pink color cast. Yes, there is a “pink stripe” on the insides of the light tent, and that cannot be fully fixed in Photoshop…
Not until the entire photo is desaturated of color and changed to black-and-white. This is why I highly recommend getting a white laundry box and stick the felt inside. Well, learn from my mistake. As for me, I will have to pay the price of $1 to buy another piece of felt to cover up the pink parts. 🙄
POSTER BOARD LIGHT BOX
Not too keen on using a laundry basket? Here is another DIY build that is not using a cardboard box.
CLOSING
WHAT’S NEXT?
Thank you for reading, and we have come to the end of this guide. I hope this simple DIY project saved you some money, and if you have anything to share with this guide, please feel free to comment below. Good luck and may the photography force be with you.