INTRODUCTION
FINDING THE WAY
Welcome to a beginner’s guide on how to get a sharp focus in night photography – Have you just started with night photography? Struggled with the autofocus and ended up with blurry photos? Tried deploying a tripod, but the autofocus still hunted back-and-forth to find nothing?
Well, you are not alone, that was my beginner’s “taste of defeat” experience as well. But thankfully, there is the Internet where I studied some “deadly focusing skills”, and eventually had my sweet revenge on night photography.
So fear not, if you are still struggling with finding focus in the dark – Freely did I learn from the Internet, so freely do I give back. This guide is a compilation of all the good night focusing tips I have learned from the Internet masters. Read on to find out more!
NAVIGATION
TABLE OF CONTENTS

Section A |

Section B |

Section C |

Extra |

Closing |
SECTION A
USING ASSIST LIGHTS
All right, let us now start with a section on how to use an additional light source to help with focus assist.
1) USE THE AUTOFOCUS ASSIST LIGHT
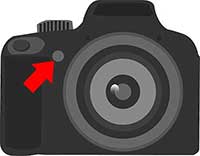
Some cameras have a built-in assist light or sometimes called an “illuminator”. Sure thing, these tiny little lights cannot illuminate an entire city, but they are still good for helping out in short-range portrait and product photography.
If your camera does not have this tiny bead, try attaching a flash unit or wireless trigger that has an integrated focus-assist light. Alternatively, there are also dedicated assist light gadgets that will sit on top of the hot shoe.
2) SMARTPHONE LIGHT
Pretty sure that nearly everyone has a smartphone in their pockets these days. Just pull the smartphone out, switch on the torch, and use it as a focus assist light… Even the light from the illuminated screen should be good enough to help the autofocus at a short-range.
3) USE A FLASHLIGHT
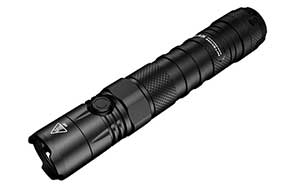
Personally, I will recommend using a flashlight… Not the tiny key chain things, but one of those tactical flashlights. They still fit into the pocket, acts as a good focus assist light, and will illuminate the area up really well. Definitely safer to have one of these around either way and not have to stumble in the dark.
4) LASER POINTER
The range of flashlights can only go so far… We need something stronger for shooting landscapes, cityscapes, and astrophotography. Yep, carrying a floodlight around may sound like a tempting idea, but it is not very practical. So the next best alternative is – A laser pointer. It will go far enough, and that tiny red dot is all the autofocus system needs to lock on.
SECTION B
FOCUS WITHOUT ASSIST LIGHTS
The problem with using an assist light is that it will not reach very far, and photographers don’t always walk around with a laser pointer at all times… So for the landscape photographers, here are a few ways to focus without using an assist light.
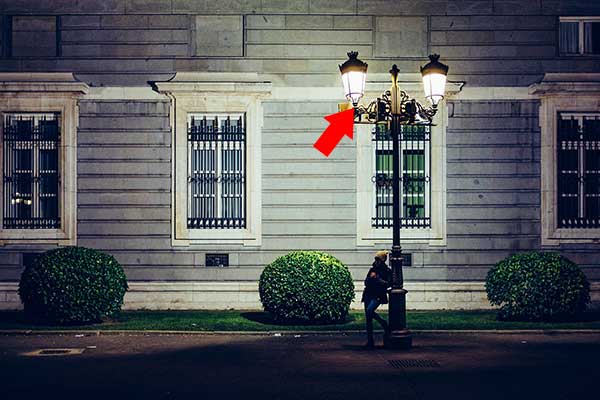
5) FOCUS ON A BRIGHT SPOT
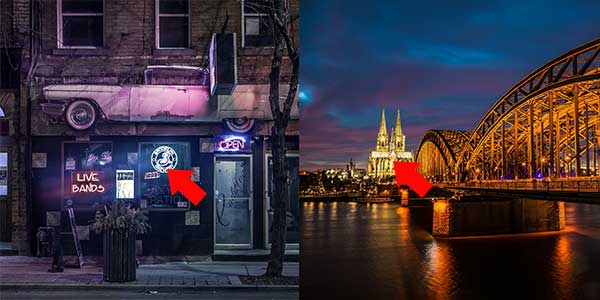
Yep… This one is kind of a Captain Obvious thing. Landscape and street photographers – Just use a distant street lamp, signboard, or illuminated building as the focus point. There shouldn’t be much trouble while shooting around cities.
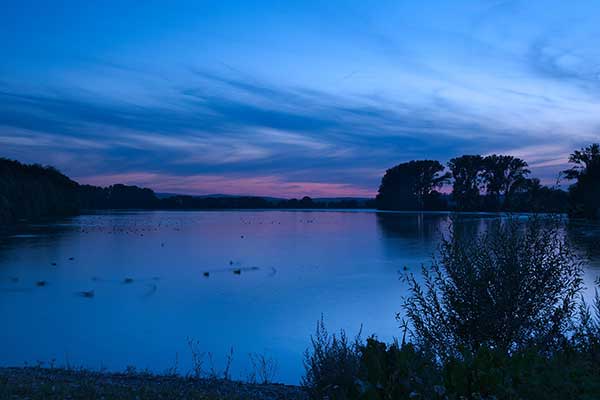
6) FOCUS ON THE MOON
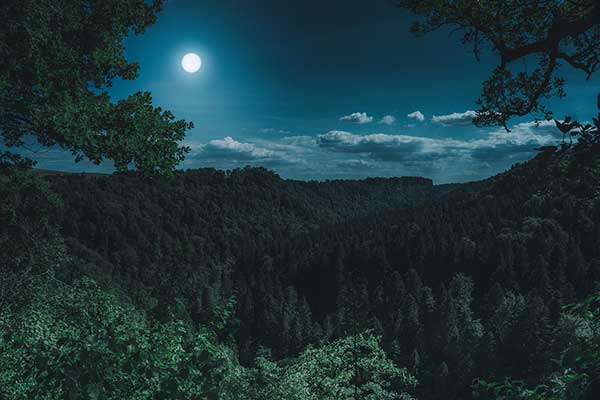
What can we do when shooting outdoors, and when there are no city lights? Well, there is always one reliable bright spot in the sky that we can depend on at night – the moon… In any case, when there is no light pollution, we should have a sky full of stars – We can easily focus on any star without the help of assist lights.
7) SWITCH TO MANUAL FOCUS
When autofocus refuses to work, and when it starts to hunt at nothing in the dark – We have no choice but to fall back to using our own eyes, to the “accursed” manual focus mode. But not to worry, manual focus is actually not that bad… The pioneer photographers all used manual focusing when autofocus is not even invented. It just requires some practice, and we will go through some tips below.
8) USE THE LIVE VIEW OR EVF
Following up with the above point, one thing that our ancestors didn’t have is technology… Even with manual focusing, we can still “cheat” a little bit with the technology on hand – Yep, we can temporarily boost the ISO and use the camera as a “night vision goggle”.
- Switch to the live view mode or use the EVF.
- Boost the ISO, open the aperture wide-open.
- That should brighten the frame enough to do manual focusing.
- Turn the ISO back down, change the settings back.
- Take your shots.
9) GUESSTIMATION – INFINITY MINUS A BIT
In the most desperate situation of no laser pointer, no flashlight, no city lights, and overcast no moonlight – The only way to go is to use manual focus and good old guesstimations. My usual trick for nightscape and astrophotography is to turn the focus ring all the way to infinity then dial back a little.
But there is a catch here, and that is, we need to use a wide-angle lens with a small aperture. The key here is to have as much depth of field as possible, so even the focus is off a bit, the depth of field will have a lot of wiggle room to cover up all the mistakes.
Just don’t use telephoto lenses with a large aperture that will give you a shallow depth of field. This will make manual focus even more difficult… Although bokeh stars are pretty cool as well.
10) FOCUS BEFORE IT GOES DARK
This may seem to be a rather foolish thing to do at first, but that is my personal “strategy” for taking fireworks events. Just consider this:
- Arrive at the location during sunset.
- Deploy the tripod, take a few nice shots of the sunset.
- Take more shots during blue hour, then decide on the final composition – Fix the tripod on the spot, and not shift the focus anymore.
- Take shots of the fireworks at night.
Does this still sound dumb? Arriving earlier at the location will only give more time to come up with a winning composition. Also, even if the night shots go horribly wrong, there are still the shots taken during sunset – Won’t go home empty-handed.
SECTION C
MORE FOCUSING TIPS
So far so good, let us walk through a couple more focusing tips in this final section.
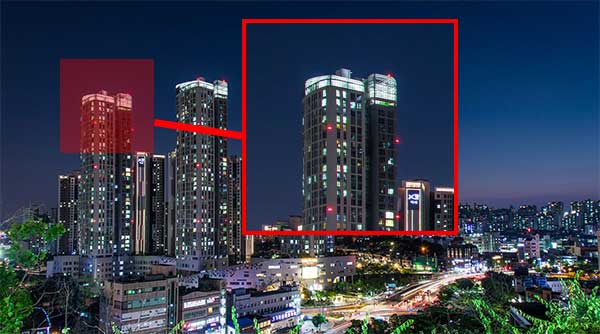
11) TARGET THE EDGES
With today’s technology, most autofocus systems either work with contrast detection or phase detection. This means that the autofocus will work better when the subject has a distinct contrast between bright and dark, and/or have an apparent shape.
Targeting the center of a big ball of light will definitely not help much, so try to target the edge of the bright light instead. Let the camera pick up on the difference between light and dark, also on a shape to focus on.
12) FOCUS & RECOMPOSE
Remember the “focus on a bright light” tip above? So what happens if the bright light is not exactly in the frame that you want? Introducing focus-and-refocus. In layman terms:
- Focus on a bright spot, which can be out of the frame of your wanted composition.
- Keep the shutter half-pressed, do not attempt to re-focus again. The clever way is to use the back focus button if your camera has it.
- Shift the entire frame, recompose your photo.
- Take the shot.
That’s it. This is a handy little technique to adopt, but a few more small things to take note:
- Use a smaller aperture for a deeper depth of field. This will compensate for the error as the frame is being shifted.
- The bright light source must still be somewhere around the required plane of focus, or the entire photo will be out-of-focus when shifted.
13) TAKE A PHOTO, ZOOM IN TO VERIFY
We are no longer living in the stone age of photography anymore. With digital cameras these days, there is no harm in taking test photos to see how the composition, focus, and photo will turn out. Just don’t be stingy with the memory space… It’s not film. 🙄 The wise move is to always chimp on the photos at the end, zoom in, verify a good focus, a good composition – Don’t go home with regrets.
EXTRA
USEFUL BITS
That’s all for this tutorial, and here is a small section on some extras and links that may be useful to you.
LINKS & REFERENCES
- How to Focus in Night Photography – Capture Landscapes
- 9 Tips to Help you get Sharp Focus at Night – Digital Photography School
- 11 Tips for Focusing Your Camera at Night – B&H
CLOSING
WHAT NEXT?
Thank you for reading, and we have come to the end of this guide. I hope this will help you to take better night photos in the future, and if you have anything to share with this guide – Please feel free to comment below. Good luck and happy shooting!