EXPENSIVE ASTRO MIRACLE FILTER?
Welcome to a review of the Kenko Astro LPR filter, and this is one heck expensive filter. Priced at 32000 JPY or about USD 320 for the 77mm version, this is the most expensive filter I have bought to date.
But what is so interesting and so good about this filter? Well, the name of the filter sort of explained itself – Astro Light Pollution Resistant (LPR) filter. In most modern cities, we cannot see the stars because the night skies are concealed by light pollution from the city lights.
The Astro LPR filter will supposedly filter off (some of) the light pollution of the street lamps and city lights, revealing the stars like magic. This is like an astrophotographer’s dream come true, but does it really work? Read on to find out!
THE OVERVIEW
| Price | USD 160 to USD 360 (depending on filter size) |
| Links | Official Website: Kenko Astro LPR Type II Get from eBay: Click here |
| Build Quality | Good build quality, but watch that reflection. |
| Usefulness | Astrophotographers will love this one. A “clear night sky only” filter. |
| Value | Very expensive, no other uses except for astrophotography. |
| Overall | An interesting filter to have… except the price. |
TABLE OF CONTENTS
 Section A Section AWalkthrough |
 Section B Section BUsage & Experience |
 Extra ExtraSpecs & Useful Bits |
 Closing ClosingThe Verdict |
FILTER WALKTHROUGH
This is one excitingly expensive filter. So it is only natural for one to expect “premium quality and packaging” out of this “luxury filter”. But when I got the filter, I was a little disappointed with the packaging. At least the filter is of good quality…
THE PACKAGING
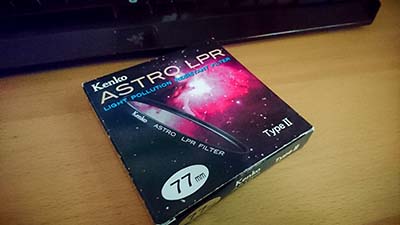
The Astro LPR comes in a rather standard packaging, box, and a hard case inside. Rather disappointing for the price paid, Singh-Ray did better with a unique leather carrying case.
OPTICAL QUALITY
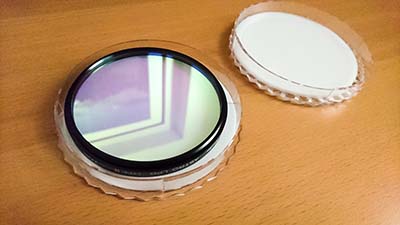
The optical quality is excellent though. What struck me is that this filter is reflective. Yep, it looks pretty much like a one-way mirror, a good sign that it definitely reflects off a lot of unwanted light.
PROFILE
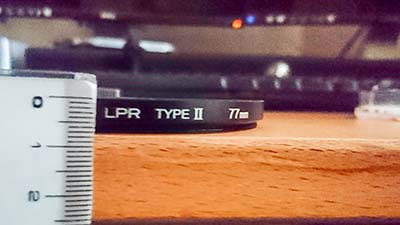
The filter profile is at 0.7mm thick, made of… aluminum? Definitely not some cheap plastic. It has a front filter thread, so filter stacking is possible. Although I do not recommend stacking filters with such a thick profile.
USAGE EXPERIENCE
Astro filter or not, we are still subjected to wait for a clear night sky. So it was only 2 weeks after I bought the filter that I had a chance to use it. Went to “the secret darkest spot” in Singapore to test drive this filter… Which is still not too dark. At least there are no street lamps nor lights from nearby buildings.
THE SAMPLES (CLICK TO ENLARGE)
Do forgive my newbie star shooting skills, this is my maiden attempt to “seriously” try to catch the milky way in a light-polluted city. With the help of the Star Tracker app, I barely made out where the milky way was. The rest is pure luck.
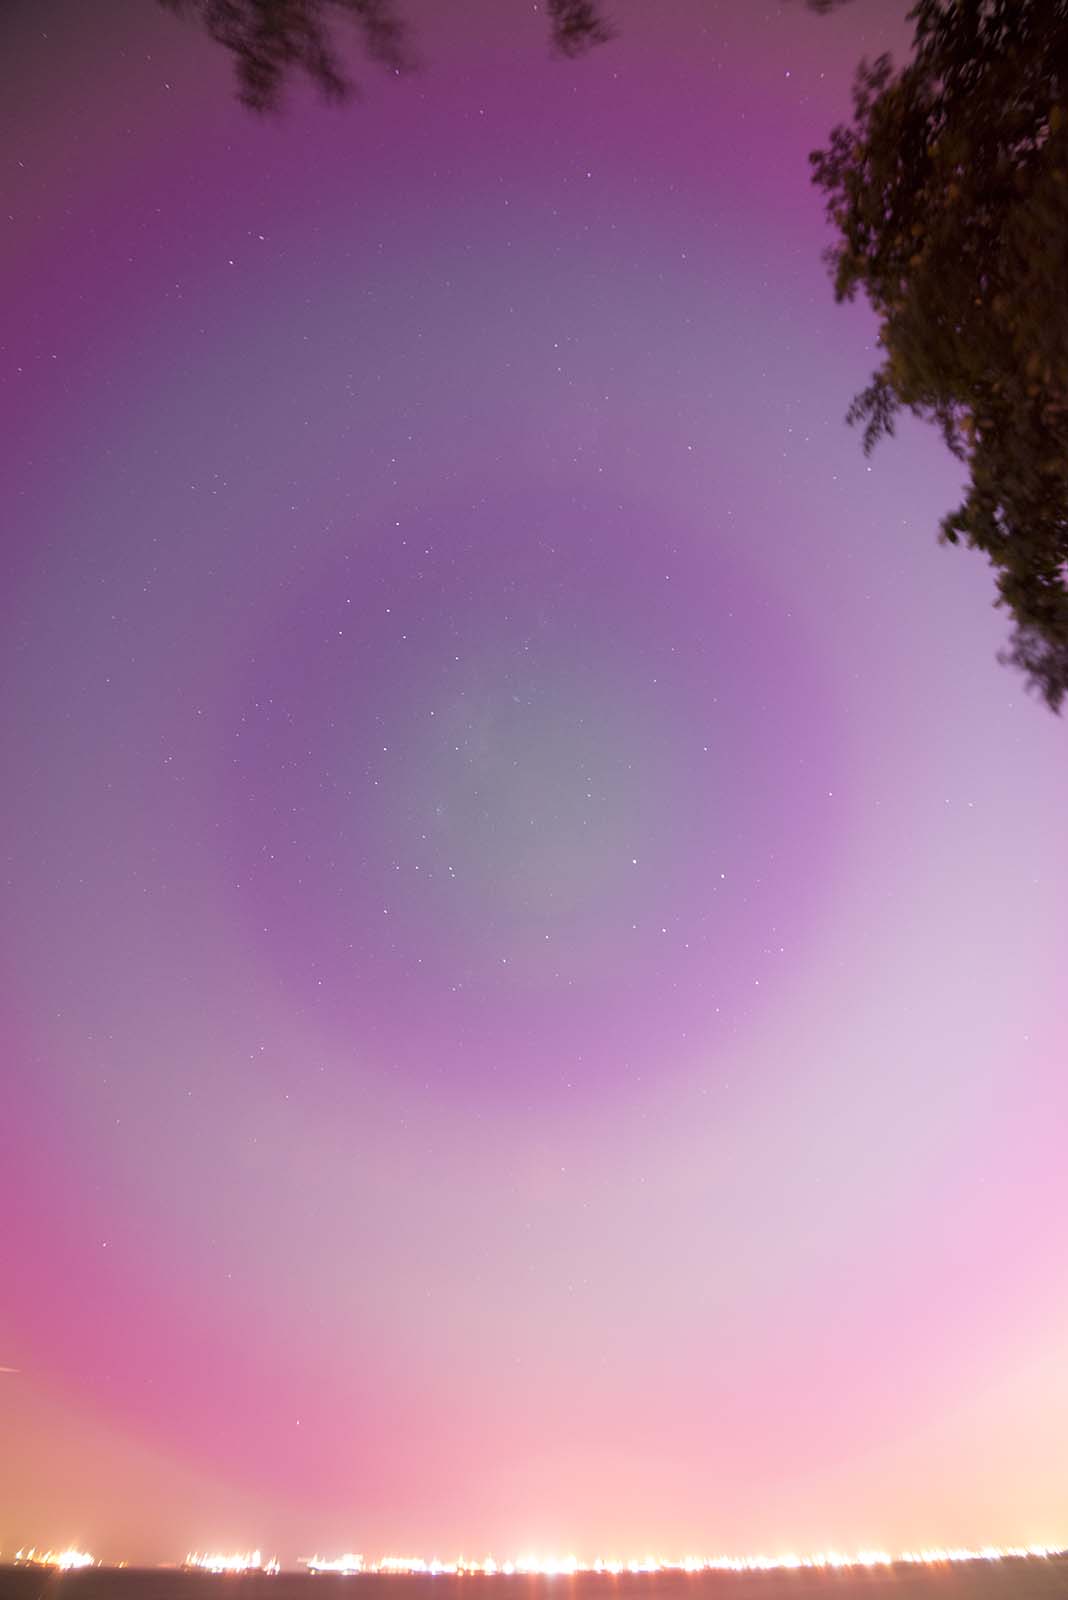
First photo: The raw. Taken with Nikon D800E, 16-35mm f/4, and the Astro filter. Setting at 16 mm, f/4, 30 seconds, and ISO 1600. I first thought that annoying “halo” in the center to be a bad filter “side effect”… but later found out what it is.
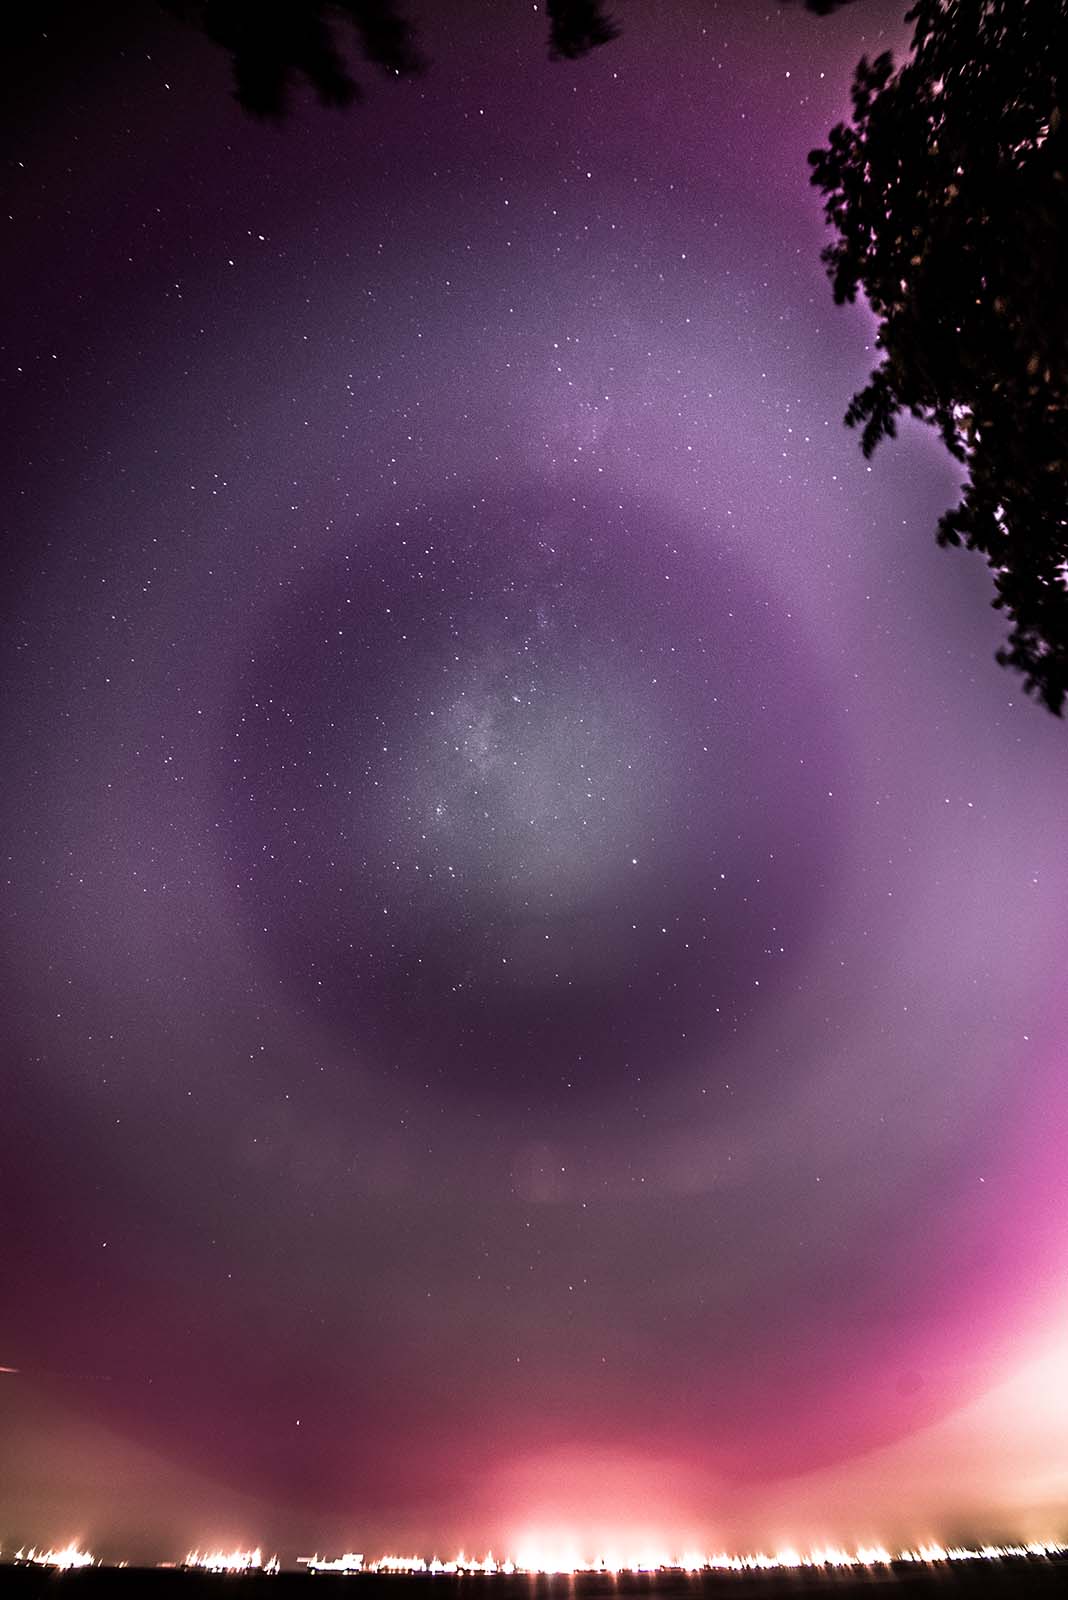
Second photo: After some Photoshop processing. Yep, the milky way is visible! If you take a long hard look at that “halo”, it is actually the reflection of my 16-35mm lens… There is some “funky internal reflection” going on, which is really no good.
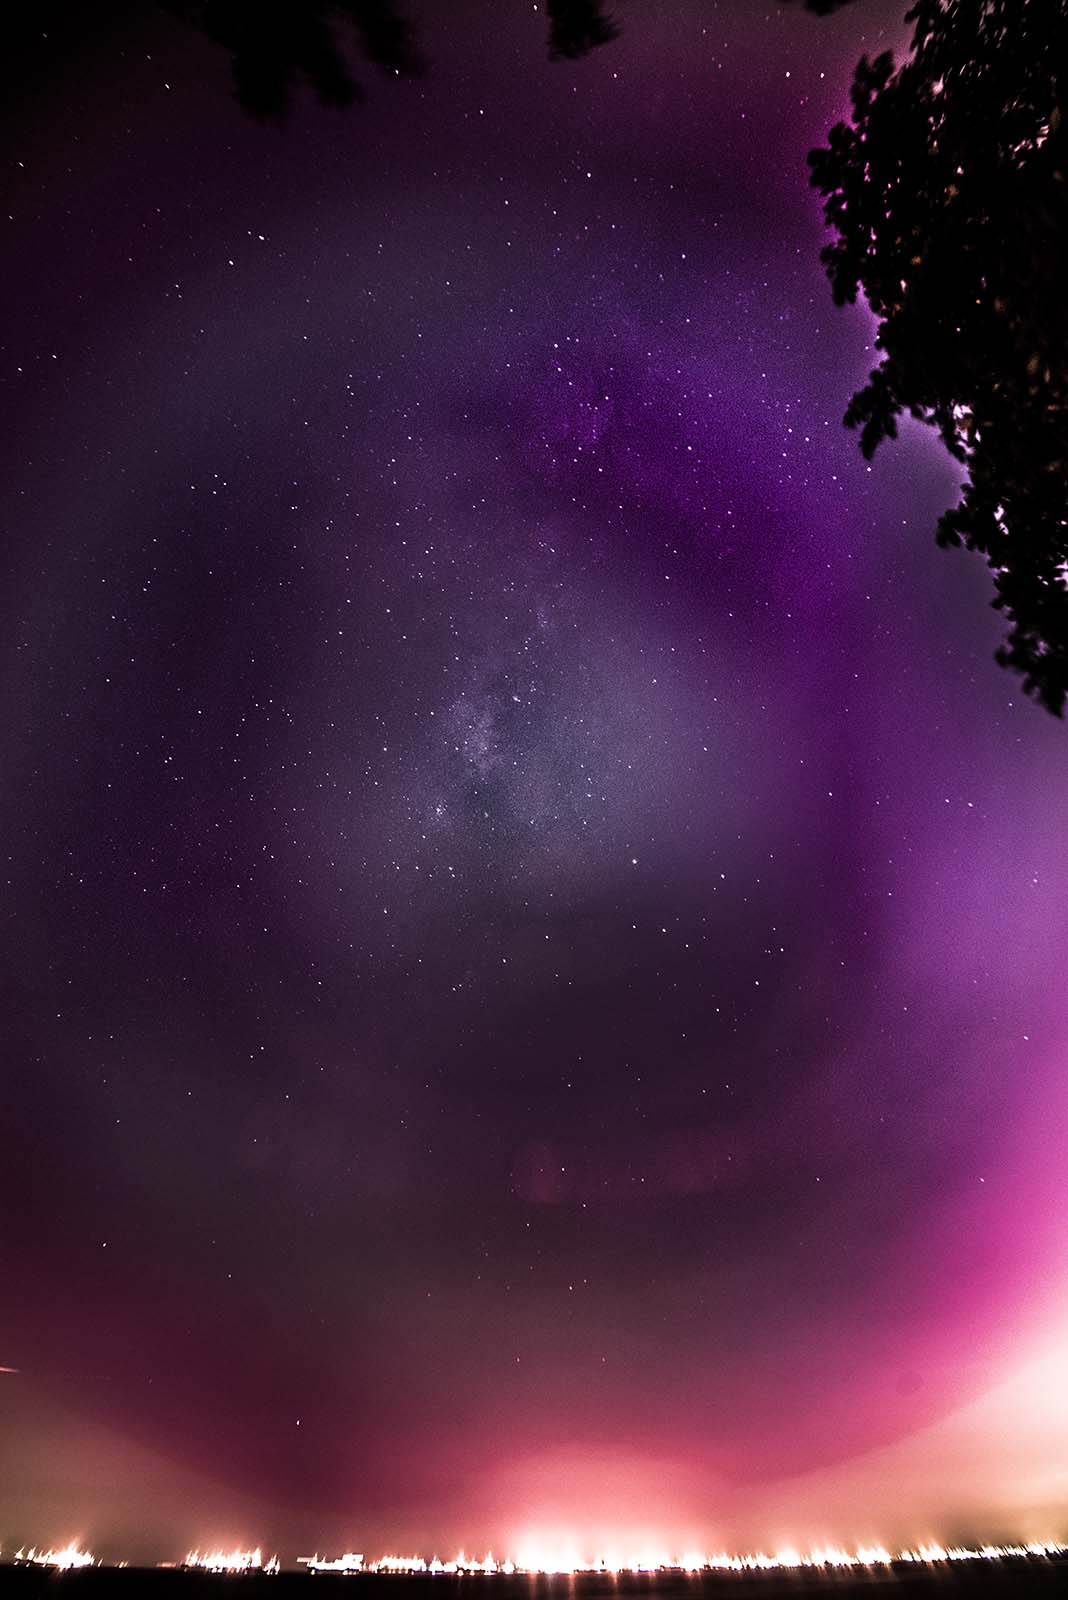
Third photo: Some more Photoshop magic to enhance the contrast, and remove some of those annoying “haloes”. Pretty usable photo if I crop and clean it further.
POST TESTING THOUGHTS
I guess what is bad, is my photography skills and not fully understanding how the filter works. So to the people who are also new, here is what I will recommend.
- This is one reflective filter. You do not want to stack filters and please use lenses that are anti-reflection.
- Avoid shooting anywhere close to a light source, building lights, under a street lamp.
- Switch to a lens with a larger aperture, with a larger lens hood to block out stray street lights.
- The composition is still a factor, use the 500 Rule to avoid star-trails if you want.
- Use an app to help you find the position of the Milky Way.
- Use the weather forecast, you need a clear sky to get good results.
- Expect plenty of Photoshop editing, post-processing is a must.
SPECS & USEFUL BITS
That’s all for this review, and here is a small section on some extras that may be useful to you.
TYPE I AND TYPE II – WHAT IS THE DIFFERENCE?
Kenko offers 2 types of Astro LPR filters, Type I, and Type II. I guess the very first question for people who are interested is – What is the difference between the 2? There is very limited information on the Internet regarding these filters, but this is what I managed to dig out.
- The Type I filter is cheaper, but supposedly cuts off way too much of the light spectrum, resulting in a funky color balance.
- The Type II filter is more expensive, but supposedly cuts off only most of the light spectrum in city lights. This results in a better color-balanced photo.
So conclusion, both filters work. With the exception that you will need more color balancing and post-processing work with the Type I filter. I got the more expensive Type II because Type I sold out… and I figured that having a little more light spectrum data will do good in the final photos. But either way, both versions received pretty good reviews on Amazon Japan.
THE GOOD
- Solid build, good optics.
- “Magic” filter, removes some city lights.
THE BAD
- Very expensive filter.
- Internal reflection, keep clear of strong light sources.
- “Night-time only” filter.
THE VERDICT
After a round of actual field tests, we can conclude that the Astro filter works as advertised. While it may not be a “miracle filter” that pierces through those “dirty” city lights, it does filter out some of them, it does bring the milky way back into the photo.
With that, I shall leave this here – I won’t call this filter a “miracle”, but definitely an excellent filter that works magic. Although filter requires a lot of editing work, at least it creates photos that are otherwise impossible.