INTRODUCTION
LINES, THE “INVISIBLE” ELEMENT
Welcome to a beginner’s guide on the types of lines in photography. Lines are everywhere and we just have to look at things from a different angle – Roads will form straight or curved lines, tall buildings will form vertical lines, mountains form diagonal lines, and even a banana have nice curves.
While this may seem to be somewhat “abstract” for some beginners, learning how to see in terms of lines is one of the essential basics; Lines are powerful tools that can help to create award-winning photos when done right. So let’s dive into the various types of lines and how to use them in photography – Read on!
1) HORIZONTAL LINES

Horizontal lines generally convey the feeling of stability, calmness, broadness, and/or vastness. For example, a scene of sunrise with the golden sun slowly rising up the horizon will project a relaxed feeling.
To add more magic to the scene, several other elements can be considered as well – Horizontal lines are also commonly used in combination with wide-angle photography to showcase and give an illusion of a vast landscape. A lone tree or subject can be included to add more visual interest to the otherwise boring scene.
2) VERTICAL LINES
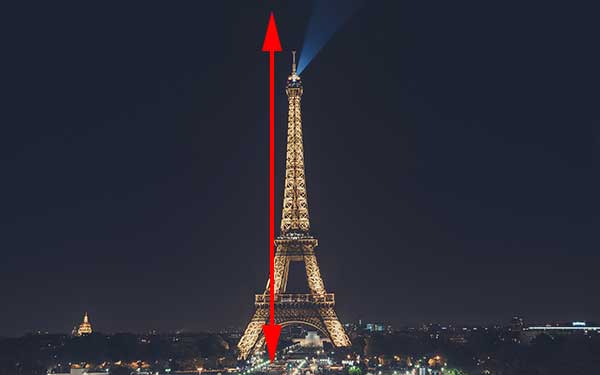
Vertical lines portray a sense of height, strength, and foundation. Trees, buildings, poles, and statues are a few of the common examples. We can use a strong vertical line to guide the attention of the viewer, but beware of where it is placed through – Bold vertical lines can divide a frame into 2 halves.
A good idea to play with vertical lines is to use it to highlight symmetric scenes or an imbalance between the two halves. E.g. 2 halves of different colors, or maybe a photo of junk vs grass. But otherwise, do be careful and not make “awkward cuts” that will destroy the composition.
3) DIAGONAL LINES
Diagonal lines are more dynamic, in the sense that we have a little more freedom over how to angle the line and choose the direction of it. They often create a sense of motion and adds depth to an otherwise “flat” photo.
A usual trick that photographers use is to deliberately shoot a straight subject at an angle so that it creates more dimensions to the photo. We can also use it as a lead line, for example, to guide the viewer’s attention towards sunset or interesting subject.
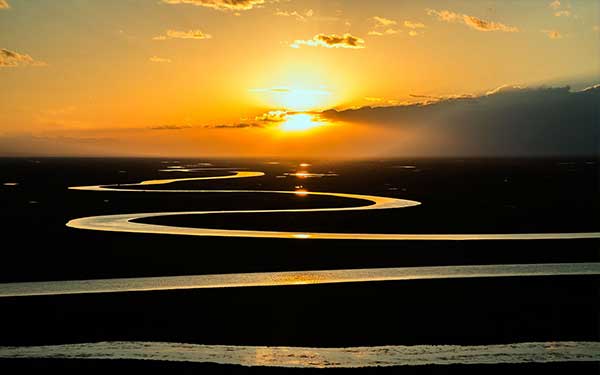
4) CURVED LINES

Common examples of curved lines include meandering rivers, roads, and paths. In contrast to the straight lines, curved lines will appear to be a little more graceful and elegant. As humans tend to visually follow along curved lines, they can be used to gently guide the attention of the viewer to something interesting when placed correctly.
5) ZIG-ZAG LINES
Zig-zag lines create a naturally interesting pattern and are rather strong elements even by themselves in a photo. But that is not necessarily a good thing… Trying to compose a photo while including zig-zag lines can be quite a challenge at times.
Imagine a photo with strong zig-zag lines and various other strong elements – Colors, shapes, points of interest, and subjects. It becomes an “overloaded messy” photo instead – Balance is a huge issue. So please do be careful when dealing with zig-zags. Eliminate, include fewer subjects, and go simple if you have to.
6) ARCS & CIRCLES
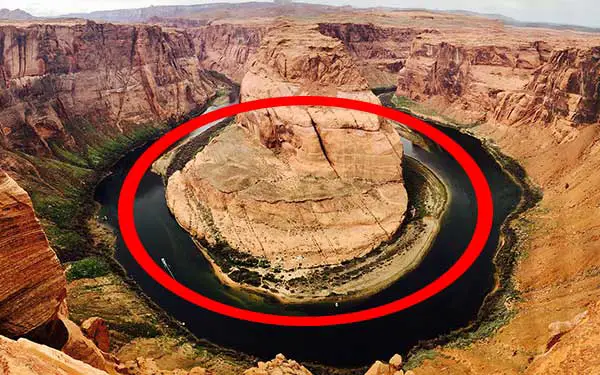
Arcs and circles will naturally isolate a section in the frame. They are very good at emphasizing a part of the picture, be it a positive or negative space. Also, being innate frames, we can adopt circles and arcs to create a “frame in a frame” tactic.
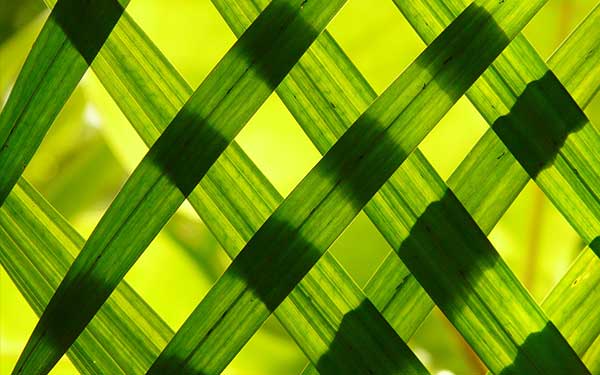
7) REPETITIVE GROUP OF LINES

When we put a group of random lines together, they will form a mess of randomness. But when we group a set of repeating lines together, they will form a pattern instead. The human brain is actually very good at recognizing patterns and seeing it as “art”. So keep an eye open – Repeating lines can make a considerably attractive photo.
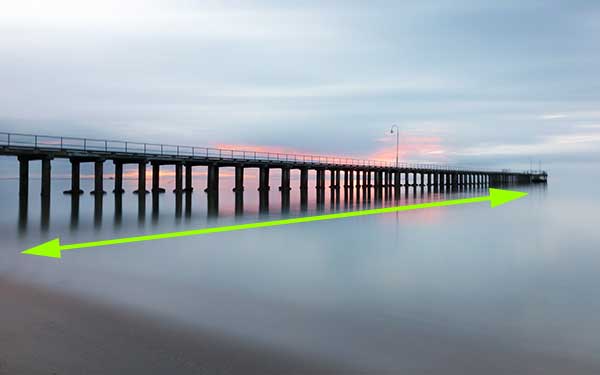
8) CONVERGING & DIVERGING LINES
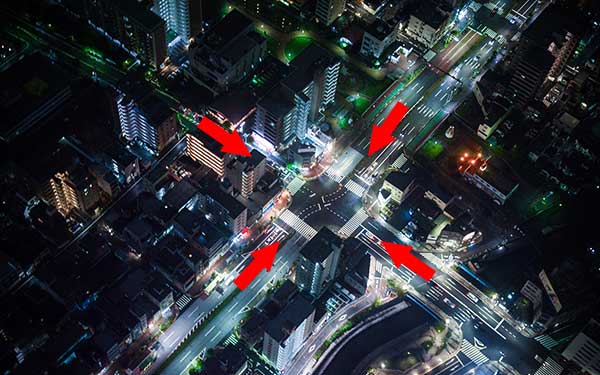
Converging lines are lines within the photo that eventually come together at a common intersection. These lines can work in two ways –
- Bring the attention of the viewer towards the middle of the intersection, use it as the center of interest.
- Vice-versa, converging lines can also do the opposite of becoming diverging lines – Fan the attention of the viewer out from the center fo the intersection, create a balanced photo.
9) LEAD LINES
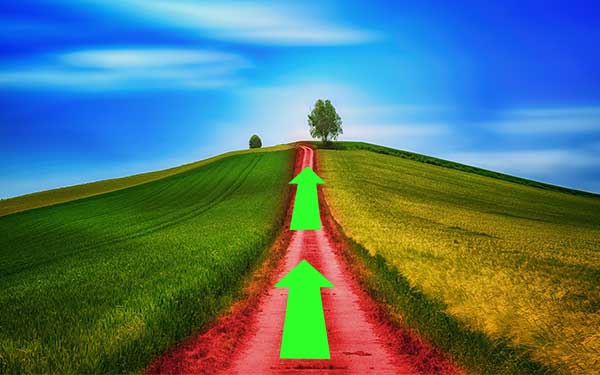
As long as a line guides the viewer’s attention, it is called a lead line. Lead lines can be of any orientation – horizontal, vertical, diagonal, curved, or straight. They can also be nearly anything – Roads, rivers, paths, railways, horizons, etc…
The key importance of the lead line is to guide the viewer to a center of attraction, to a subject of interest; A good lead line brings the viewer’s attention to the main “star” of the photo, keeps the interest of the viewer. While bad lead lines go nowhere, or even out of the frame.
10) IMPLIED LINES (INVISIBLE LINES)
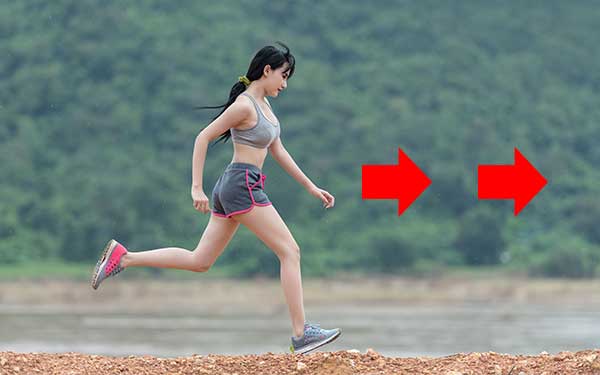
Implied lines (sometimes also called invisible lines or suggested lines) are one of the more interesting ones. They are not visually in the frame but are rather created by other visual elements such as arrows, gestures, movement direction, shape, and eye contact. As with the above example, an implied line towards the right is created when the subject is running towards the right.
When used correctly, these invisible lines can be very powerful. They grab the curiosity of the viewer and we can lead them to where we want to. But at the same time, use this with care – Creating implied lines that lead to nowhere, or something that does not make sense will weaken the composition instead.
11) ORGANIC LINES
Organic lines are kind of hard to explain… They are just lines that occur naturally. Yep. Just like organic foods that are grown without the use of any fertilizers. Organic lines are generally rough, jagged, but still have a natural flow to it. A few good examples are grass, rock formations, and even fruits have curves. Keep an eye open, and you will find some interesting organic lines/patterns.
LINKS & REFERENCES
That’s all for this guide, and here is a small section on some extras and links that may be useful to you.
- How to Use Leading Lines to Improve Your Photography Composition – Expert Photography
- How To Use Lines In Photography Compositions – PictureCorrect
- Using Leading Lines and Horizon Lines in Photographic Composition – B&H
CLOSING
WHAT NEXT?

Thank you for reading, and we have come to the end of this short tutorial. I know, it may not be easy to think “in terms of lines” at first. But being one of the essential composition elements, lines are what makes or breaks a photo. If you have trouble with the lines, my advice will be to start with simple horizons, trees, and buildings first – They are the best horizontal and vertical line markers.
When you are comfortable, challenge yourself with diagonal and curved lines, even combine the usage of various lines. The important part is that practice makes perfect, just take things easy and step-by-step. Good luck, and happy shooting!