INTRODUCTION
DON’T SKIP THE BASICS!
Welcome to a beginner’s guide on the basic rules of lighting in photography. Lighting has always been the photographer’s best friend and biggest bugbear. Use it right, you get an award-winning photo. Get it wrong, just hide that photo, and never let people set eyes on it.
This guide will run through the basic laws of light that are related to photography, which some of you guys may think is boring… But don’t skip it, or you will be left in the dark forever. Read on to learn more! 😆
1) NATURAL & ARTIFICIAL LIGHT
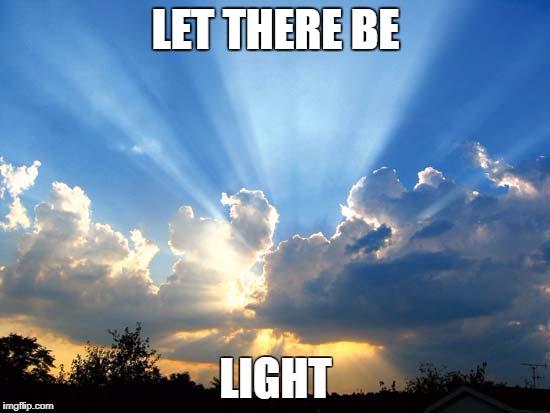
Let us start with something simple and Captain Obvious. There are 2 “main types of light” in this world.
- Natural light – Mostly referring to the sun and all things that glow naturally. We usually have little or no control over natural light, that is, we can’t switch the sun off.
- Artificial light – Refers to all the man-made lights, for example, light bulbs and glow sticks. This, we have more control over.
This is not quite a law nor a concept of light, but the point here being, light is still light regardless of whether it is natural or artificial. In the world of photography, natural light is not better than artificial light, nor does it work vice-versa.
They share certain traits, follow the same laws of physics and it works the same altogether. It is up to the photographer to make full use of whatever available light to the best advantage.
2) THE LAWS OF LIGHT

Moving on, this is something that every photographer should know – Every time light shines on an object (that is not reflective), the following things will happen:
- Shadow: Self-explanatory… We already know what shadows are, a dark area that is cast by light being blocked by an opaque object.
- Highlight: This is sort of the opposite of shadows, and is the bright area where the light hits.
- Core: This is the transition between highlight and shadow.
The properties of the highlight and shadow will also change according to the intensity of the light source:
- An intense light source will cast a very defined (sharp) shadow and core.
- Vice-versa, a soft light source will cast a softer shadow and smooth transition core.
What is the big deal with all of these? It is vital to learn and experiment with the properties of light – Light at different colors, intensity, and direction will give you photos that look totally different.
3) HARD AND SOFT LIGHT

Following up with the above:
- Hard Light: Created by a strong and bright light source. Harsh highlights, defined core, and strong shadows.
- Soft Light: Created by a “gentle soft” light source. Gentle highlights, smooth core, and soft shadows.
What is the importance of this again? Hard light will usually cast hard shadows and defined lines – It is usually good for the “dramatic shots”. Vice-versa, soft light is cast smooth shadows and soft transition lines – It is usually good for the “beauty shots”.
4) INVERSE-SQUARE LAW

The Inverse-square law is also another one that photographers need to know, and the formula goes like this – Intensity of light = 1 / Distance². For example, the intensity of a light source will be 1/4 at a distance of 2, and 1/9 at a distance of 3. Nope, we don’t actually have to memorize and do crazy Math. What it means in human terms:
- The further you place a light, the softer and less intense it will be. It will also cover more area.
- If you place a light closer to the subject, it becomes more intense and covers less area.
5) DIRECTION OF LIGHT
Remember a few minutes ago when I mentioned the direction and distance of light are vital? Here’s how placing a few lights at a different position can change your photo drastically.

Front lighting: The most commonly used lighting position for beginners. Characteristically flat without shadows, and just overall well-lit.

Side lighting: One of my personal favorites. Lights a part of the subject, while adding some shadows and drama.

Backlighting: Lights the back of your subject, defining the edges and giving that rim light for added drama.
6) CATCHLIGHT

Catchlight refers to the reflection of light in the eyes of the subject. While some beginners probably ignore this tiny detail, catchlights can really bring attention to the eyes of your subject when done correctly. Which is why some photographers deliberately position the light in front of the subject.
7) MID-TONES, BLACKS & WHITES
For this final section, I shall address something that is not lighting but closely related. Mid-tones, blacks, and whites. You might have already come across these terms, or soon if you dabble with editing. What are they all about?
- Mid-tones: As the name suggests, these are the spots in the photo that are neither highlights nor shadows – But somewhere in-between (the greys).
- Blacks & whites: Generally refers to all the black/white of the entire image, often confused with shadows and highlights. Best way to explain – Shadows are cast light being blocked. Blacks refer to everything dark in the frame – dark hair, dark blue clothing, shadow areas, etc… Whites refers to everything bright – Yellow gloves, bright green clothing, all the highlight areas.
LINKS & REFERENCES
That’s all for this guide, and here is a small section on some extras and links that may be useful to you.
- Inverse-square law – Wikipedia
- Lighting for Digital Photography: The Five Characteristics of Light – Peachpit
- Hard and Soft Light – Wikipedia
- An Introduction to Catchlights – DPS
CLOSING
WHAT’S NEXT?
 We have come to the end of this guide, and congrats on scratching the surface of photography lighting. Yep, all these concepts are only the first step. But please don’t be discouraged, you have already gotten the basics out of the way!
Just worry about the coming “difficult things” bit-by-bit. The next best step to do as a beginner is to actually try out various types of lights – Flash, reflector, LED, etc… Just get comfortable, experiment around with different settings, and play around with the directions of light. If you have anything to share with this guide, please feel free to comment below.
I hope this guide has helped you, good luck, have fun, and happy shooting!