INTRODUCTION
ONE IS GOOD ENOUGH
Welcome to another part of the photography lighting tutorial series, One Light Photography. A single flash is where most people get started with their journey into flash photography, but yet commonly fail to produce good photos.
Some beginners then start to think that they need more lights to produce good photos… when they have not even mastered a single flash. So in this guide, we will dive into the practical tips that we missed in the previous session – How to use one light to produce good-looking photos, and that you can use a single light to rule them all.
NAVIGATION
TABLE OF CONTENTS

Part 1 |

Part 2 |

Part 3 |

Closing |
PART 1
GEAR REQUIREMENTS
Before we start on this tutorial, you will need some proper gear – that is a camera and one flash unit. But wait, I am not referring to that tiny pop up flash built into your camera. You are going to need a decent flash and a pair of wireless triggers. We are going off-camera in this guide.
THE TRIGGERS
I shall recommend using the Godox X1 wireless triggers [Nikon | Canon | Sony], a rather affordable trigger that is decently good and supports HSS.
A SOFTBOX
In addition to that, off-camera offers an opportunity for better lighting options. Why not make full use of it, get a softbox, and turn it into a mini studio setup?

To hold the flash. Doh.
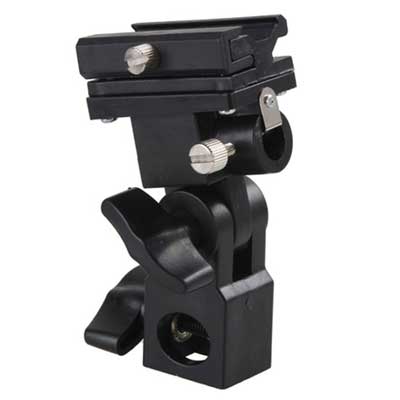
This will allow you to swivel the flash and put an umbrella on.
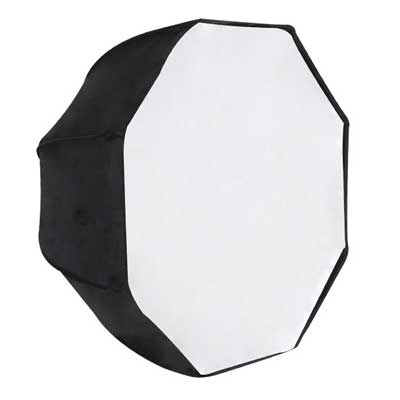
Remember the mini softbox? This is many times the size of that. There are many shapes and sizes to the softbox – Octagon, square and rectangle. Each has its own use, but I will recommend starting with an 80cm octagon. Which is common and portable.
PART 2
OFF CAMERA FLASH
This is a beginner’s guide after all. If you do not know how to set up an off-camera flash or put a flash inside the softbox, this section is just for you. If you are already an advanced photo ninja, please feel free to skip this section altogether.
QUICK RECAP
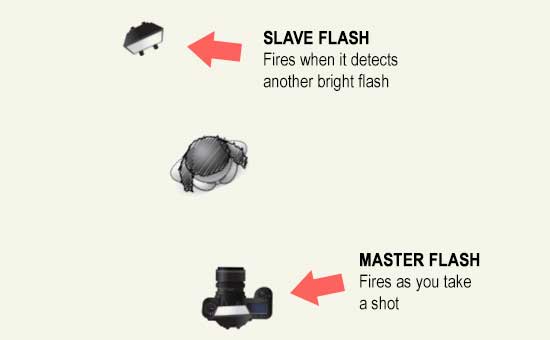
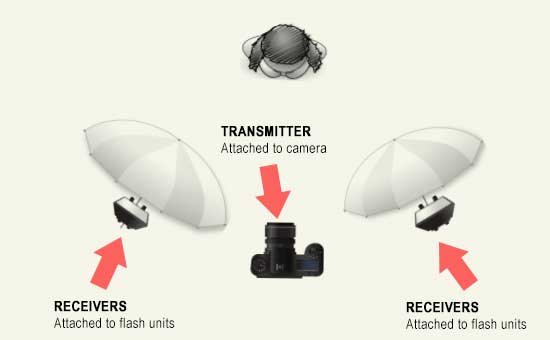
Just-in-case, for some people who have forgotten or not read my previous post. There are 2 ways to do off-camera flash.
FIRST STEPS OF OFF-CAMERA FLASH
When it comes to off-camera flash, some beginners panic and not know what to do. How does it work? Where do you place the light? What settings do you use? Yes, it’s different, but not really difficult.
- Mount the flash onto the receiver, mount the transmitter onto the camera.
- Turn on the camera and flash. 😐
- Set the channel on the receiver (I shall not go into details since everyone has a different receiver).
- Set the channel on the transmitter, so that it can trigger the flash.
Yep. That is actually about it. You now have a flash that works off-camera.
HOW TO SETUP THE UMBRELLA SOFTBOX
Well, before the “experts” start flaming, I must make a disclaimer first that using a softbox does not always make better photos. For example, if you want some dramatic shots, you will want to consider using a snoot instead. If you want a nice back/rim light, use a bare flash without diffusers.
So what are softboxes good for? Increasing the area of the light, and soften the light. You will find that softboxes are very commonly used in portrait photography, and sometimes product photography. Setting up the umbrella softbox is actually pretty easy, and you should be able to figure out in 5 minutes… but here goes.
LIGHT POSITIONING
The beauty, and point of using off-camera flash is the ability to put it in different positions. Not going to have too much “spoilers” on this one, as you will have to try it to know it. Just place the flash in different positions, and you will be surprised to see how much your photo can change with just the position of the light.
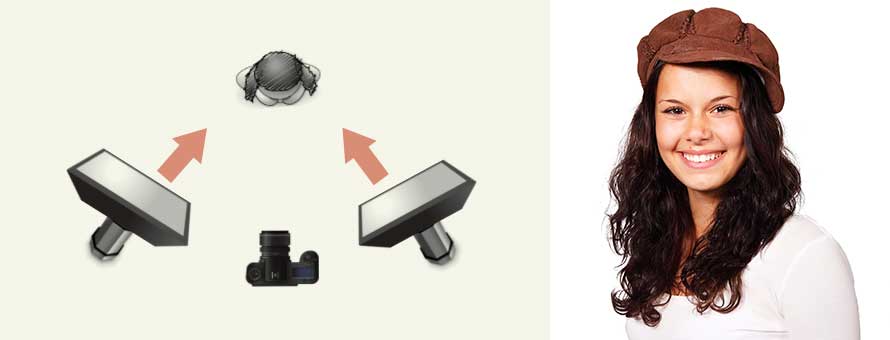
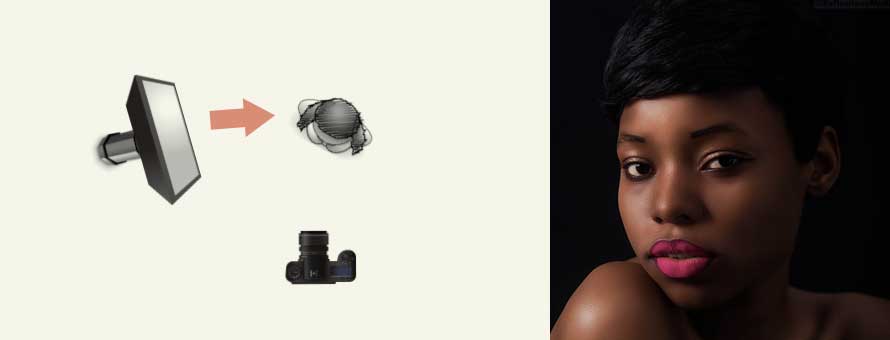
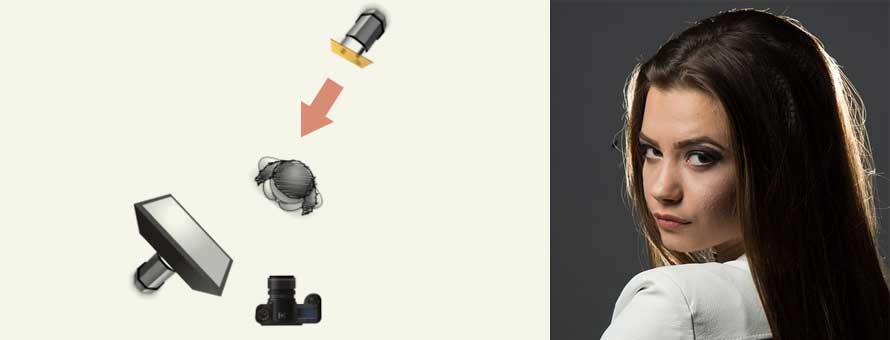
P.S. I know that these are not one light setup, but yep, just know that there are 3 common light placements – Front, side, and back.
HOW TO FLASH WHILE IN A BOX
Now that you put a flash in a box, do you have to use manual flash power? No. TTL still works as usual… But to what extent, it will really depend on many factors such as the environment and flash system itself. Thus, this is where I will recommend to start playing around with manual flash power.
- Use in-camera metering to determine a rough estimation of the exposure settings.
- Position your subject and flash.
- Take a test shot.
- Review and adjust power/exposure settings.
Now, that is not much of a difference from the usual on-camera flash, except that you will need to factor in the position of the flash. So go try it out, manual or TTL. It’s not that difficult once you catch the gist of it.
PART 3
FLASH TIPS
Slap the flash on, turn it to auto, point it forward and fire away. That is probably the instinct of most beginners, and that is one way to get started… Except that for most of the time, you won’t get good results with this kind of setting. How do we get better results then? Here are a few good tips on how you should approach one light photography.
ALWAYS EXPOSE TO THE BACKGROUND FIRST
By this, I mean to always start a shot by framing the background, and do the camera settings without considering the flash. Why does it make sense to do this? Ever wonder why beginners always end up with a dark background and sheet white portrait like this –
That is because of a direct bare flash hit, and the settings on the camera are wrong. Which is why my usual practice is to :
- Switch to matrix metering or evaluative metering mode.
- Meter the background, and use that as a rough estimation of the camera’s exposure settings.
- Switch on the flash, and attach a diffuser.
- Take a test shot with TTL.
- Adjust the flash head, exposure and/or compensation accordingly if required.
That said, if the background is not a concern (you want the background to be totally black or white), you can ignore this step of metering.
CONSIDER SURROUNDING LIGHTS

The next common pitfall among beginners and that is, not considering the environmental lights. Yes, it might be called “one light photography”, but you can’t turn off the sun and there are plenty of city lights all around.
Most of the time, these surrounding lights are beyond your control. So you will have to consider how to use these environmental lights. Do you want to face your subject towards or away from the sun? How do you want to deal with the street lamps? Place your subject under a strong street light, or place the street lights behind the subject?
SOFTEN THAT FLASH
By now, you should know that a direct bare flash is bad for portraits (I call this the nuclear flash). Remember the Inverse Square Law from the first lesson? A small intense flash produces harsh light, so all you need to do is to increase the surface area and/or diffuse the light. The easiest way to soften a flashlight is to use the diffuser cap, tuppleware, or 9-inch mini softbox.
FLASH HACKS
Too broke to even buy a cap? Forgot to bring that softbox out? Here are many cheap ways to soften the flash.
- Wrap the flash in tissue, or piece of white paper.
- Wrap the flash in a white balloon, frosted white plastic bag… or white sock.
- Use a white T-Shirt
- Whatever you can find!
BOUNCE THE LIGHT
Apart from softening the flash, light has a very interesting property – it bounces off surfaces. If you find yourself in trouble with an overly intense flash, you can try to bounce the light off the walls and ceiling. It has the same effect of increasing the area and softening the light… Just make sure that the wall does not have funky colors.
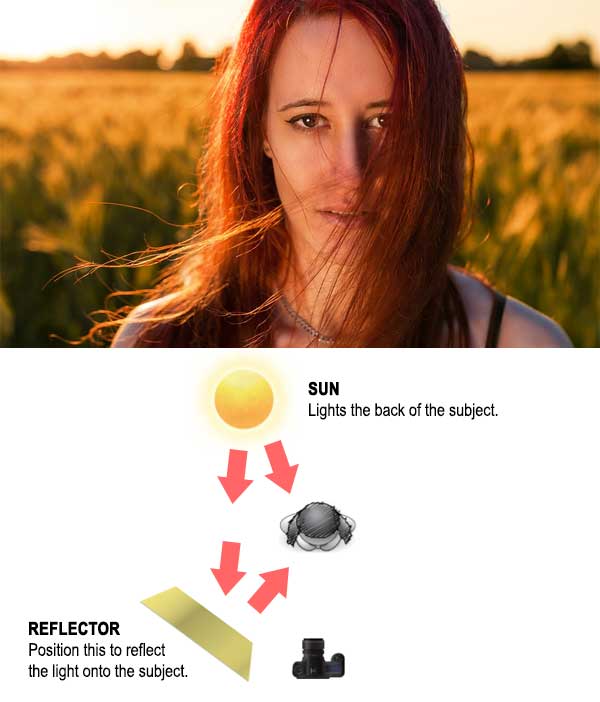
Alternatively, you can try bouncing the flash off a reflector… or just bounce the sunlight off the reflector. You might need more hands and people to help you though.
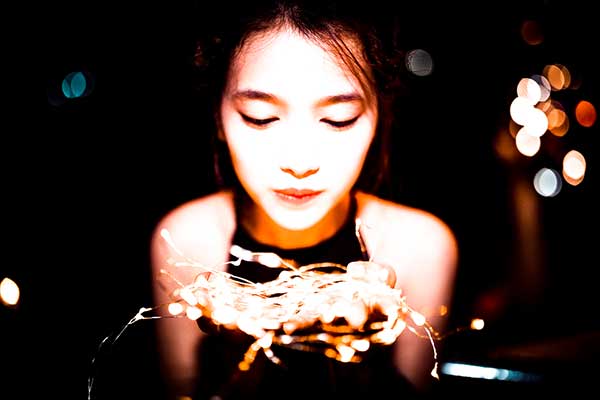
LET THERE BE DRAMA
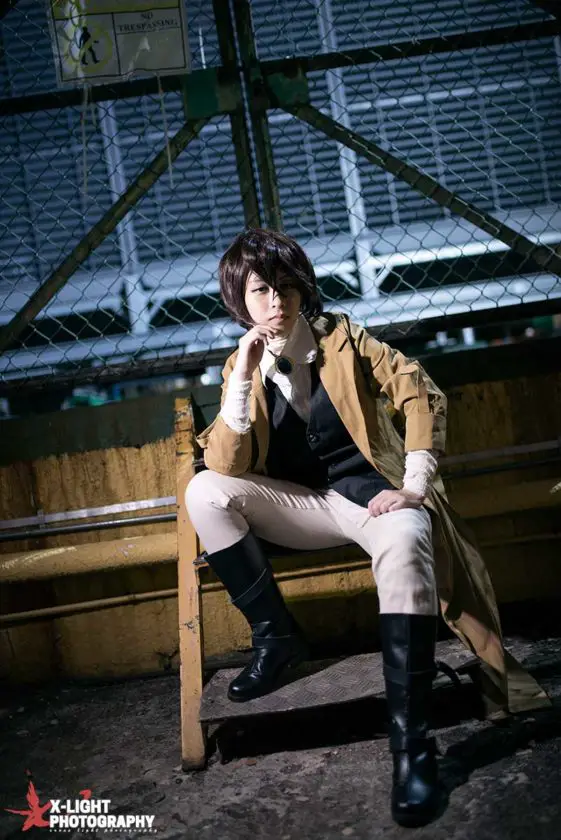
Forgot to bring the softbox? Can’t find anything useful to soften your flash? Then just use the bare flash to the best of advantage – create dramatic shots with it. All you need to do, is to cleverly position it and create a split lighting.
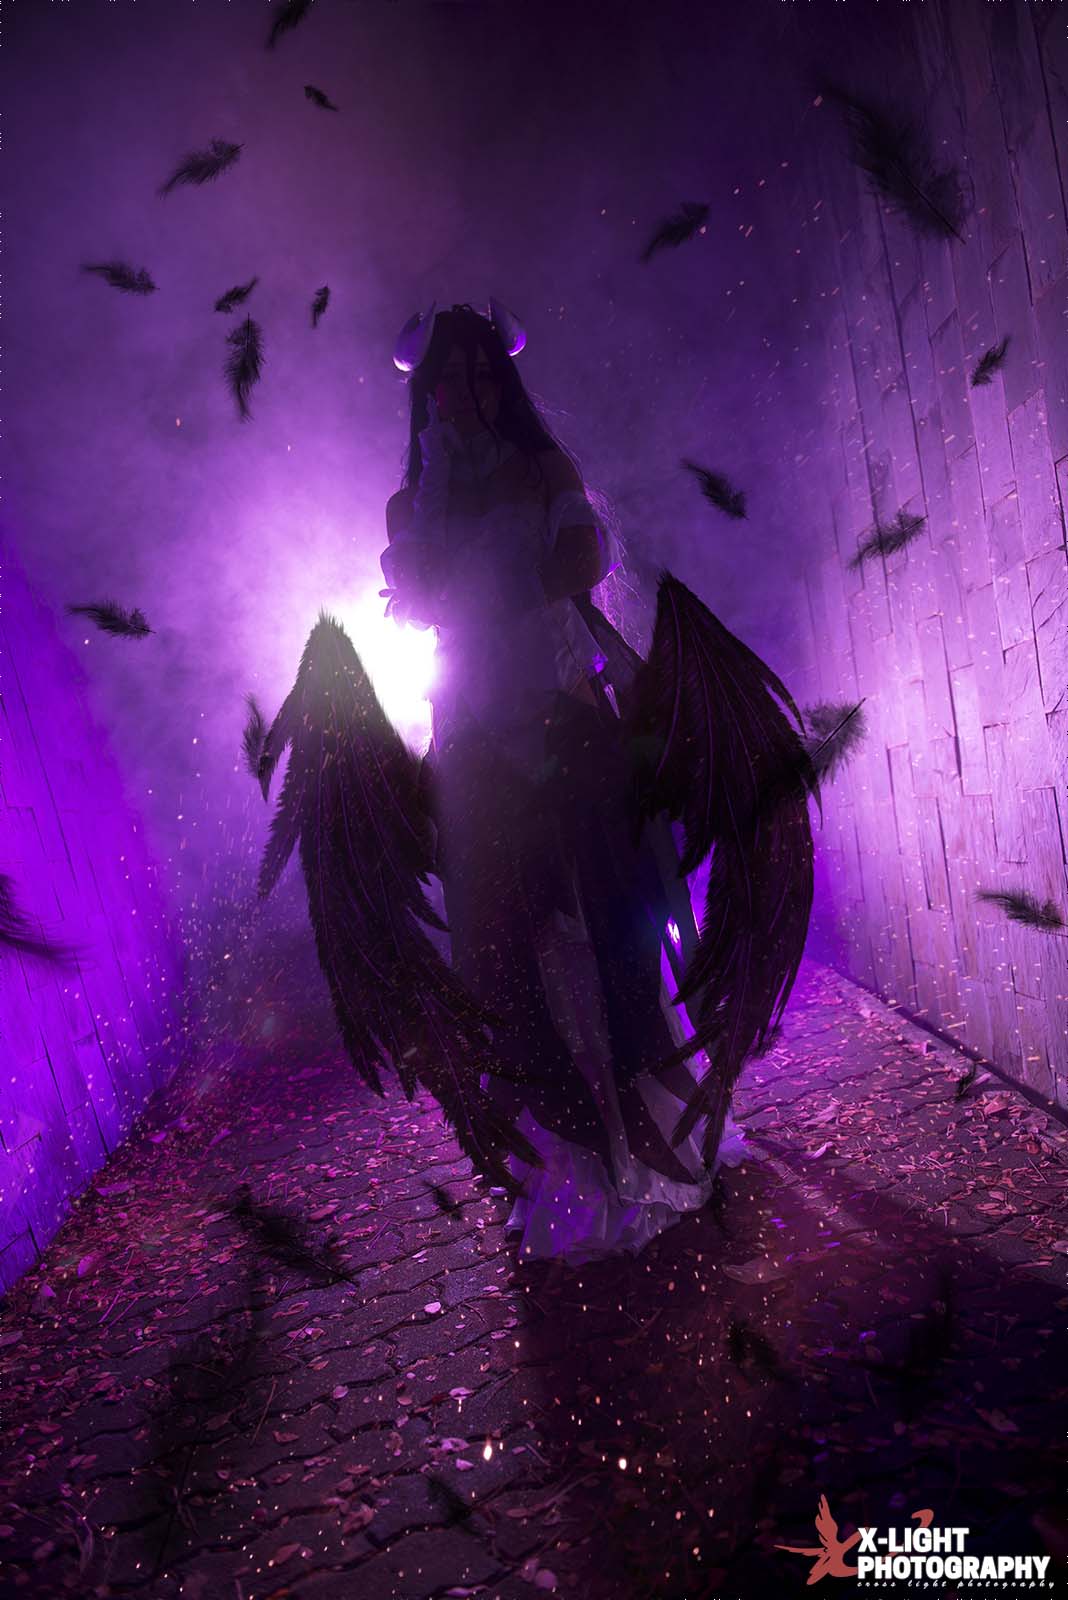
LET THERE BE DRAMA, PART 2
Bare flash, no problem. It works even better when you want to create a silhouette or teaser shot.
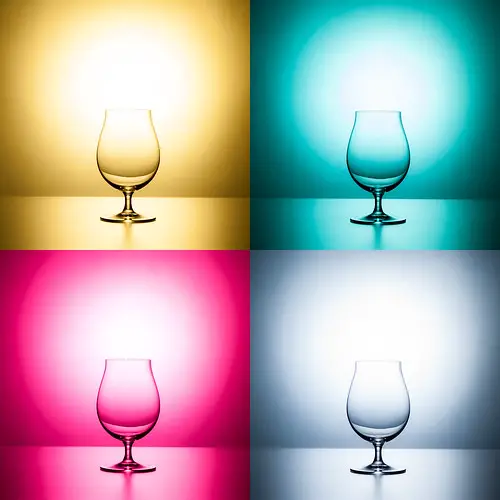
COLOR GELS
These cheap transparent color papers that we call color gels are a worthy investment. It adds drama to your photos, and good for balancing the color of the flash with the surrounding lights. But be very careful with how you use it. Some beginners love to play with these so much that they go overboard with it. It becomes… funky when you do that, and just not very appealing.
WHEN TO NOT USE FLASH
As for my last point, note that flash is not meant to be a solution for everything. If you are shooting animals and babies, avoid firing a flash. You will never know how animals react to a bright flash; They might run or they might attack. Babies are more sensitive to bright lights, and you might hurt them with a direct flash-in-the-eye. Sometimes, natural light is still the best.
CLOSING
WHAT’S NEXT?
We have come to the end of yet another long tutorial. At this stage, reading and theory are no longer good enough. To truly understand how lighting works, you will have to do it for yourself. So go, and test it out for yourself before moving onto the next session with multiple lights. Happy shooting!
If you have any questions, feel free to comment below. See you in the next one.