INTRODUCTION
THE CORRECT WAY TO FLASH
Welcome to another part of lighting basics tutorial series – flash photography tips. This is a compilation of all the flash techniques that you can use to get better photos. These are the crafts that can be “readily implemented” into your own workflow and stop you from being a newbie serial flasher.
TIP 1) DON’T FLASH THE WORLD
Let us start with a complete beginner tip. Don’t flash the world. What I mean is, to stop firing the flash while you are trying to take a night scene of a city or landscape. Just give it a little thought. A small little flash unit is not going light up the entire city.
TIP 2) DON’T FORGET THE SUN
Most beginners who just started using the flash seem to have totally forgotten about the sun. Somehow when the flash pops up, the sun disappears. Yes, please don’t forget that the sun is also a very powerful light source. So powerful that it often overpowers our tiny little flash units.
This is kind of weird as a flash tip, but sometimes, you don’t even need to fire the flash. If you have good sunlight, find ways to make full use of it. It is better, stronger, and brighter than the flash anyway. Have your subjects face the sun and it will act as a strong front lighting. Shoot from behind and you get a silhouette.

TIP 3) ALWAYS CONSIDER THE ENVIRONMENTAL LIGHTS FIRST
Some of you guys will be thinking that shooting indoors or at night will spare you from the sun. Well no, you are not completely correct as you will now have to consider all the other sources of light – Street lights, fluorescent light, incandescent light, led lights, etc…
Each different light source has a different characteristic and brightness, so keep an eye open for that. In fact, take a test shot with just the environment lights even before you include the flash into your photo. This will give you a good starting point for the camera and flash power settings.

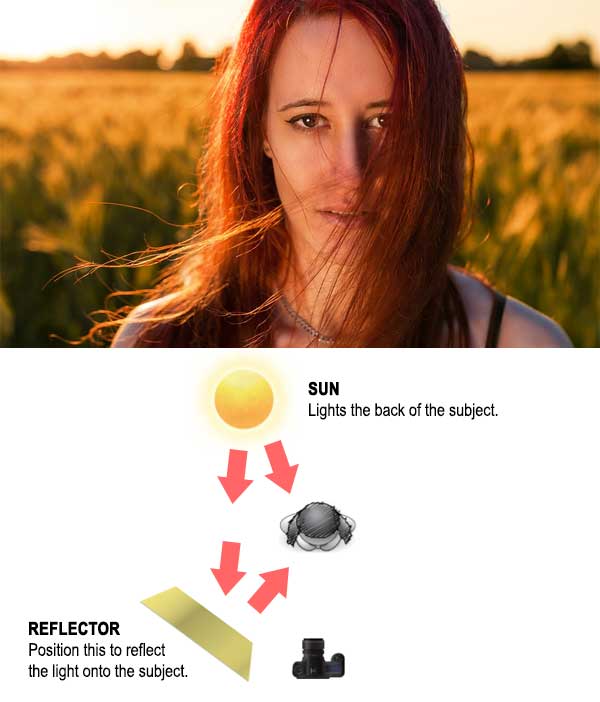
TIP 4) USE A REFLECTOR
This is another not-quite-flash tip, but I have to follow up on the sun. When the sun is behind, your subject goes dark and silhouette. We can easily bring the subject “back into the light” with a flash and/or just one simple reflector. Do take care that the light is orange during sunrise/sunset, and you might want to use a gold reflector to make things look natural.
Alternatively during shoots, you can use the reflector to bounce the flash off it as well; It acts as a second light source. Just get a friend to help you hold that reflector up.
TIP 5) SOFT AND HARD, DEFINITELY NOT DIRECTLY IN THE FACE
There are 2 “kinds of light” in photography – soft light and hard light. In a nutshell, hard light is characterized by harsh intense light, while soft light by gentle delicate light. The light that we get out of a bare flash is hard light, and beginners normally make the mistake of firing it directly into the face.
This causes great discomfort, people to squint, and it produces an ugly sheet white photo. Definitely something to avoid. This does not mean hard light is bad, and following few tips will give you a few ideas on how you can use the flash.

TIP 6) YOU CAN GET GOOD EPIC PHOTOS WITH JUST ONE BARE FLASH
Firing a bare flash flat into someone’s face makes them squint, and it makes you look like a complete newbie. So, what do we do? Just swing that light around to the side, and you suddenly create a dramatic photo. Instant professional. Yikes.

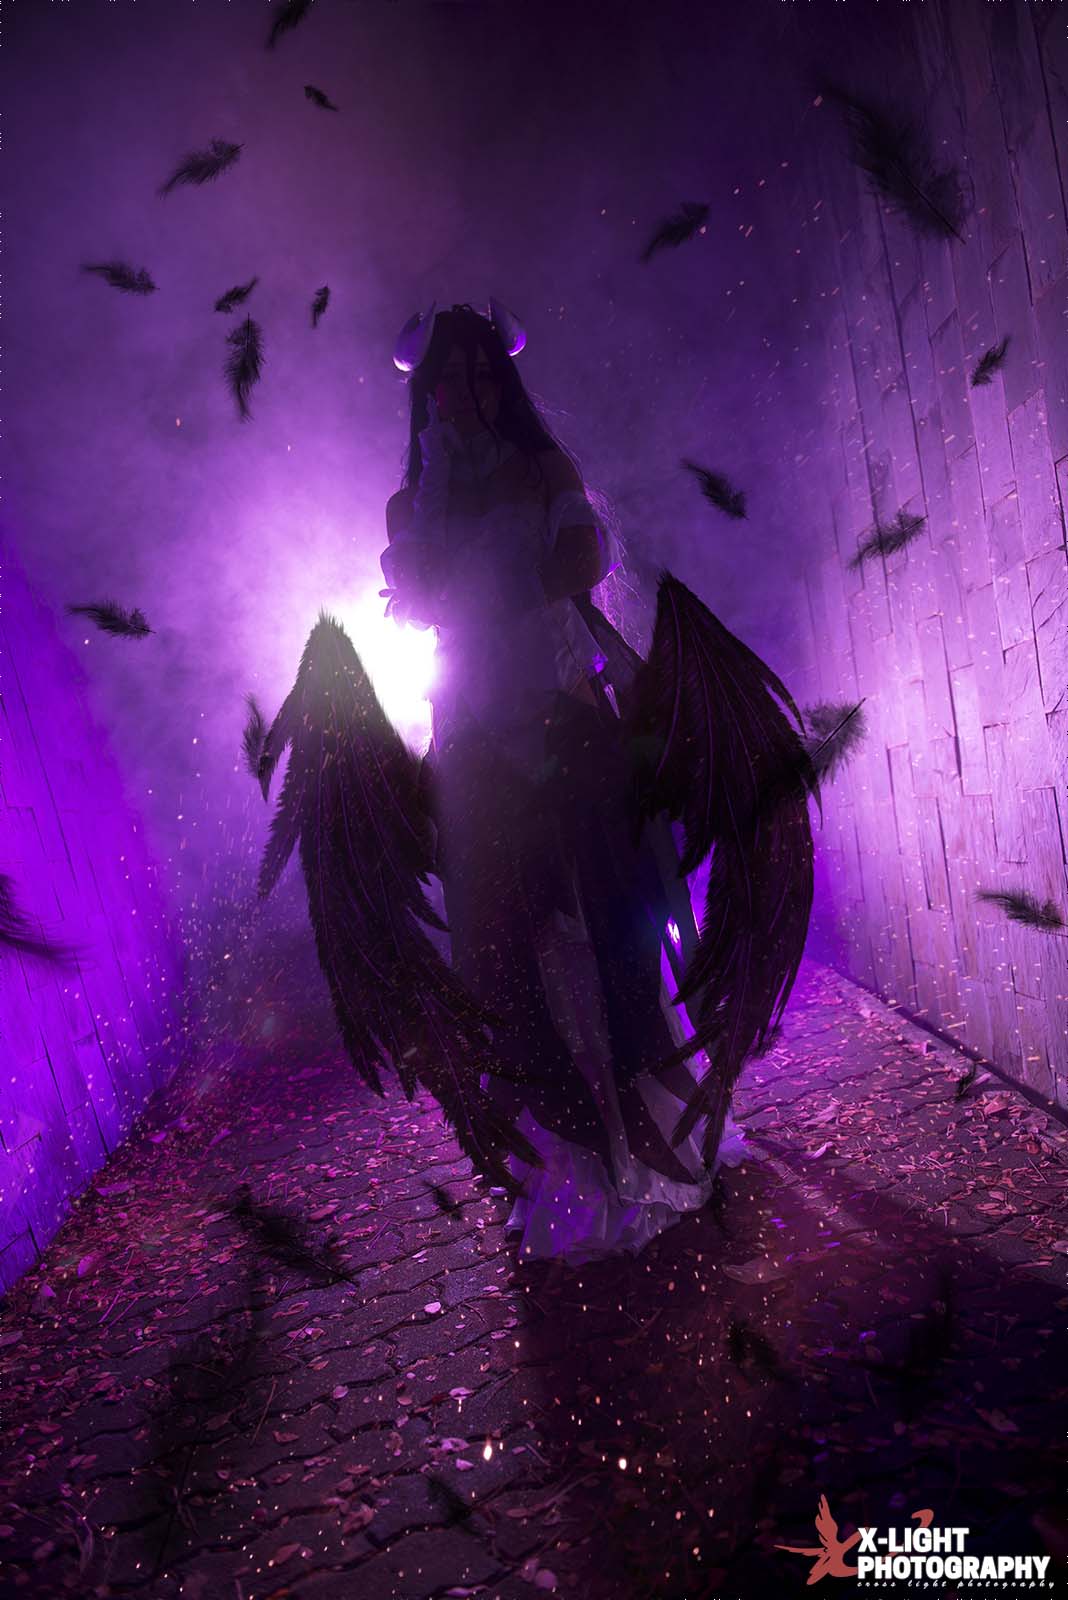
TIP 7) USE COLOR GELS WITH A STRONG BACKLIGHT
I cannot stress enough that cheap color gels can add a lot of life and drama to your shots. Remember that a silhouette is created if the sun is directly in front? You can replicate the same effect with a bare flash if it is dark enough.
TIP 8) EMBRACE THE SOFTBOX AND FLASH MODIFIERS
So when it comes to soft lighting, how can we achieve it? You get better results when you put the flash inside a softbox, and mounting it onto a light stand with a bracket. Do note that you are going to need a wireless trigger though.
If you are not willing to spend some money, the very affordable way is to cover your flash with a piece of translucent paper or cloth – Tissue paper, mahjong paper, white plastic bag, party cup, or whatever that you can find…

TIP 9) WHEN THE SUN IS HIGH, STAY IN THE SHADE
A strong intense sunlight will cast harsh shadows and make people melt… Your best bet to get better photos in such kind of situation is to move somewhere with more shade. Remember to use your flash to fill and bring your subject back, of course.

TIP 10) DON’T SHOOT IN FULL AUTO
For you guys who are still new to photography, learn to shoot in manual or at least the aperture priority mode (you can keep the flash in TTL mode). The reason is simple. If you want to take better photos with the flash, you have to learn how to shape the light and control the exposure. In the automatic mode, you will never gain full control.
This may be a painful step for some of you guys, but it really is not that difficult. Remember these 3 simple steps:
- Start without the flash. Take a shot with just the environmental lights and get your camera settings correct. The goal is to get the background exposed correctly, and you can ignore the subject first.
- Include your subject and the use of flash.
- TTL should do a pretty good job, but adjust your flash power and camera settings accordingly if needed.
TIP 11) STEAL… LEARN FROM THE MASTERS
Ever wonder how the masters get such good photos? How did they set their lighting equipment? The best way to learn is to look at photos online, and the answer lies in the catchlight.
You can “reverse engineer” a part of the lighting setup just by looking at the catchlight, figure out how many lights were used and where they are placed. But as for the power and settings, you will have to experiment for yourself; This is also the fun part where you try to adapt and improve.

CLOSING
START OF YOUR JOURNEY
We have now come to the end of this guide on flash photography tips. Mastering the flash can be quite tricky at first, especially if you are a total beginner still shooting in fully automatic mode. My advice is to take things easy. Don’t jump into full manual, but to get comfortable with the aperture mode plus single flash on TTL first.
With some practice, you will eventually become a serial flash master… For now, this is the start of your journey. Just make sure that you go out and do some flash photography. If you have questions, feel free to comment below. Have fun and happy shooting!