Welcome to a review of the MiraScreen G9 Plus, and this is a wireless screencast dongle that is floating all over eBay and Amazon. The best part is, it claims to do what the “original” Google Chromecast does, at only a fraction of the cost.
Smells fishy? How can something cost so much lesser, and is still able to do just as much? As it turns out, the MiraScreen really does work and is a very worthy Chromecast alternative – Read on to find out!
THE OVERVIEW
| Price | About USD $24 (As at the time of writing) |
| Links | Official Website: MiraScreen Get from eBay: Click here |
| Build Quality | Rugged thumb-drive-sized dongle. Nothing breaks easily. |
| Functionality | Supports 5GHZ wireless networks. Plays well with Andriod, iOS, Windows, and Mac. |
| User Friendliness | Did not work out-of-the-box. A little bit of configuration required. |
| Value | Costs only a fraction of the “original” Chromecast. Works just about as well. |
| Overall | A very good and affordable Chromecast alternative. |
TABLE OF CONTENTS
 Packaging Packaging |
 Setup Experience Setup Experience |
 Conclusion Conclusion |
PACKAGING AND FIRST IMPRESSIONS
Well, the title “first impressions” is kind of misguiding. Because the MiraScreen G9 literally came in a bubble-wrapped envelop. Yes, no packaging, just the gadget in an envelop. That’s all for the “unboxing”, but at least it survived a rough trip, goes to show a rugged device.
THE “PACKAGE”
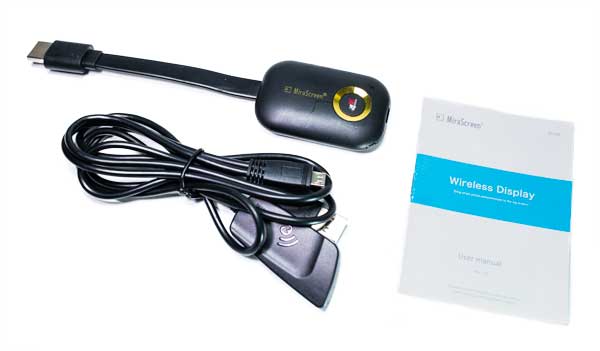
Nothing much here… Just the dongle, USB cable, and instruction manual (in English and Chinese).
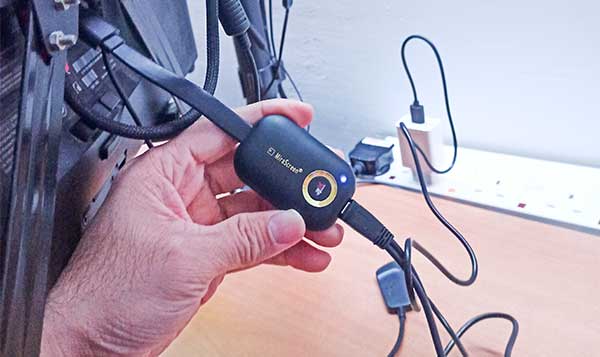
THE DONGLE
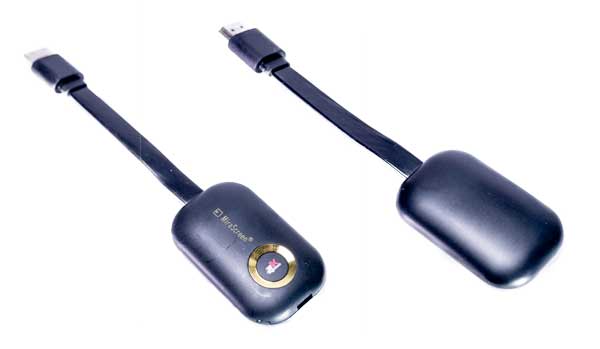
One solid piece, HDMI connector on one end, and micro USB port on the other. Apart from that, there’s really nothing else – No power button nor hidden reset switch either.
USB CABLE
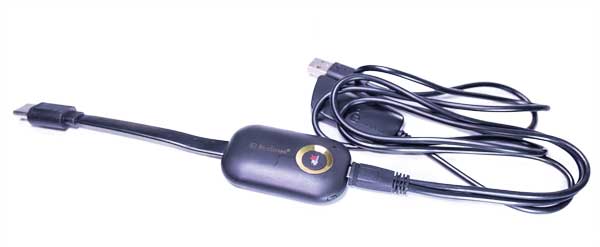
The dongle is powered by a micro USB port on the rear. But the provided cable is not a standard one and has an attached WIFI antenna… Just don’t break or lose this one, I don’t think there are replacements.
MY INITIAL SETUP EXPERIENCE
Having used another cheapo Anycast M4 dongle before, I actually don’t have a lot of expectations for the MiraScreen either. But it turned out to be pretty easy. Although it is not as easy as plug-and-play, the setup is smooth and relatively painless (for a techie).
I shall share all of my setup experiences here. So for those of you who also have a MiraScreen, I hope this section will help you to solve some issues as well. For those who are intending to buy one, this is what you can expect.
STEP 1 – CONNECT TO TV OR MONITOR
Captain Obvious step 1, connect the dongle to the TV or monitor. Very straightforward, can’t go wrong. HDMI to the monitor, USB to power up the dongle. Done, nothing else to do here – No power button to press, no secret cheat codes to enter.
STEP 2 – WIFI CONNECT TO DONGLE
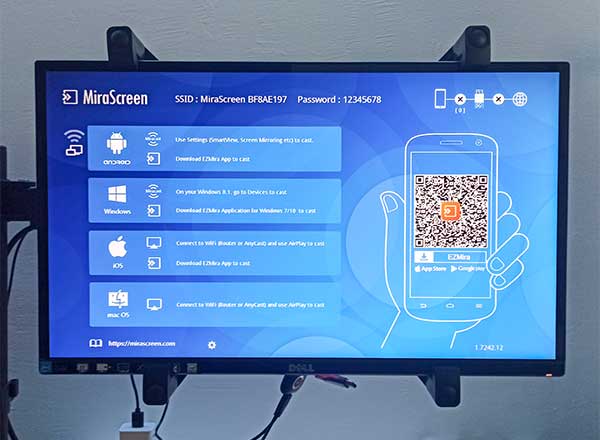
The instruction screen pops right up on the monitor after the dongle powers on. Here, we can find all the “technical stuff” factory default wireless SSID, password, and IP address… Normally, we will have to manually configure and connect using all this information.
But one interesting thing MiraScreen has is an app – Simply download the EZMira app, scan the QR code on the screen, and everything should be automatically configured. No sweat.
STEP 3 – DOWNLOAD APP & SCAN QR CODE
Yep. Download the EZMira app and just scan the QR code they say. No sweat, everything will be automatic and it works like magic, they say. This poorly developed piece of sh*t app doesn’t even work, and I uninstalled it right away. Wasted 5 minutes of my time to figure out the app is broken… Don’t bother to waste your time on this app, it’s useless.
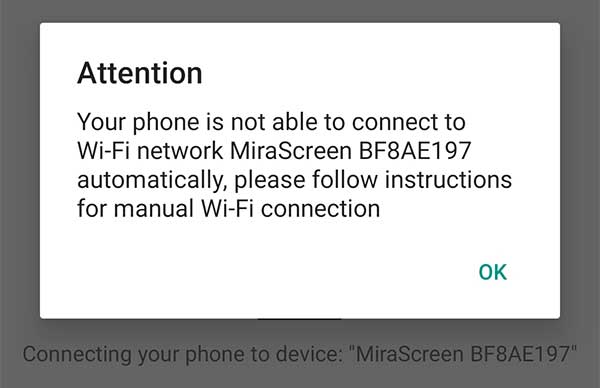
STEP 4 – CONNECTING TO THE DONGLE

So manual configuration it is. Don’t worry, it’s not too bad, and it is a one-time setup. First, connect the smartphone to the wireless dongle – The wireless SSID and password are on the instruction screen (see step 2 above, the SSID should be MiraScreen SOMETHING, the factory default password is 12345678).
STEP 5 – CONNECT THE DONGLE TO THE HOME NETWORK
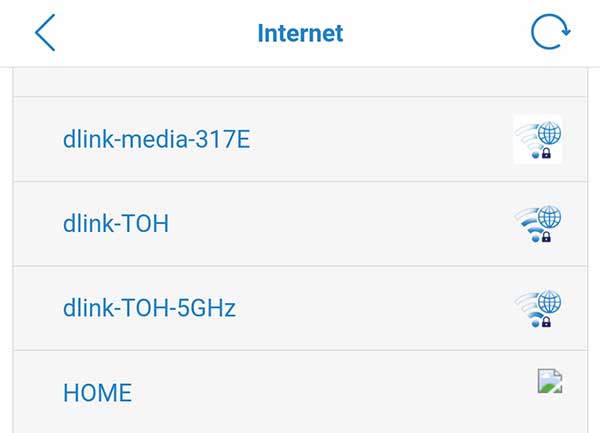
- Once connected to the wireless dongle, an IP address should show up on the instruction screen – http://192.168.XXX.XXX.
- Open the web browser on the smartphone, enter that address into the URL.
- Then, go into “connect the dongle to the Internet” (or something like that…)
- Select your home/office network, enter the password.
STEP 6 – SWITCH ON SCREENCAST ON PHONE
- On the phone, connect back to your home/office wireless network.
- Turn on screencast (or mirroring, depending on the manufacturer).
- Choose MiraScreen.
That’s all! The MiraScreen is now properly configured and should accept any other device that is connected to the home network.
STEP 7 – TESTING WITH WINDOWS
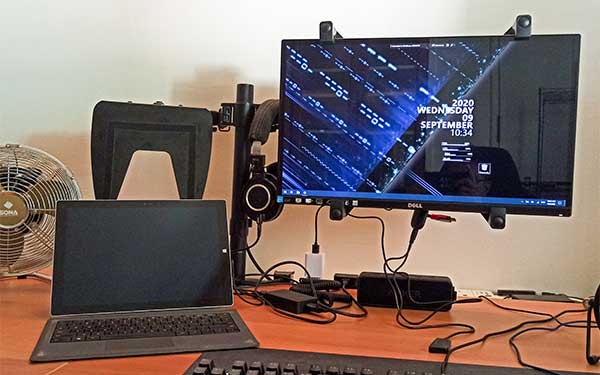
Yep, things are easy once the dongle is configured. To connect in Windows 10, simply open “connect to a wireless display”, choose the MiraScreen, and it just works seamlessly.
CONCLUSION
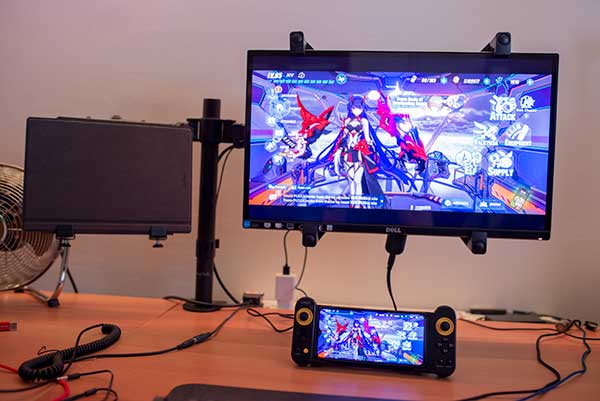
The MiraScreen G9 works! While it is not as easy as “plug-and-play”, I will say that it is still relatively painless for a techie. As for the performance itself, it streamed full HD smoothly and seamlessly.
Sadly, I don’t have a 4K monitor and cannot verify the performance for 4K streaming. But theoretically, a 5GHZ wireless network is more than enough to support a smooth 4K playback… So unless the MiraScreen has really bad hardware and/or decoding, 4K should not be a huge problem.
Finally, is the MiraScreen a good Chromecast alternative? Definitely yes. This gadget costs only a fraction and plays nice with Android/Windows. Highly recommended.
THE GOOD
- Supports Android, iOS, Windows, Mac.
- Supports 5GHZ wireless network, theoretically smooth 4K videos.
- Excellent value for money.
THE BAD
- Actually, nothing much to complain about. Just that it requires some technical knowledge for setting up.
- The app is useless.