INTRODUCTION
VERTORAMA, THE LESS KNOWN COUSIN
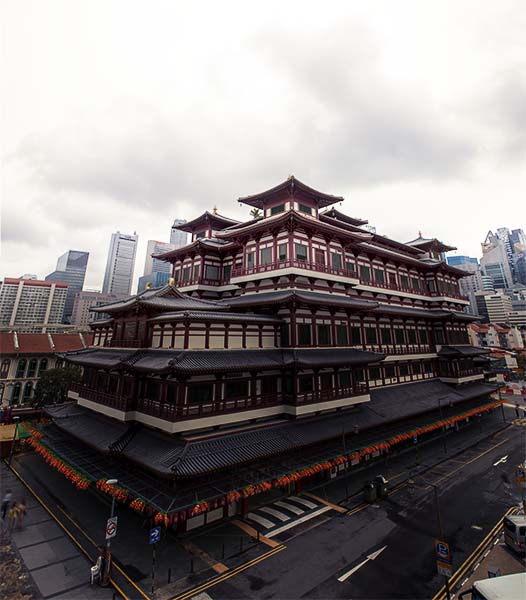
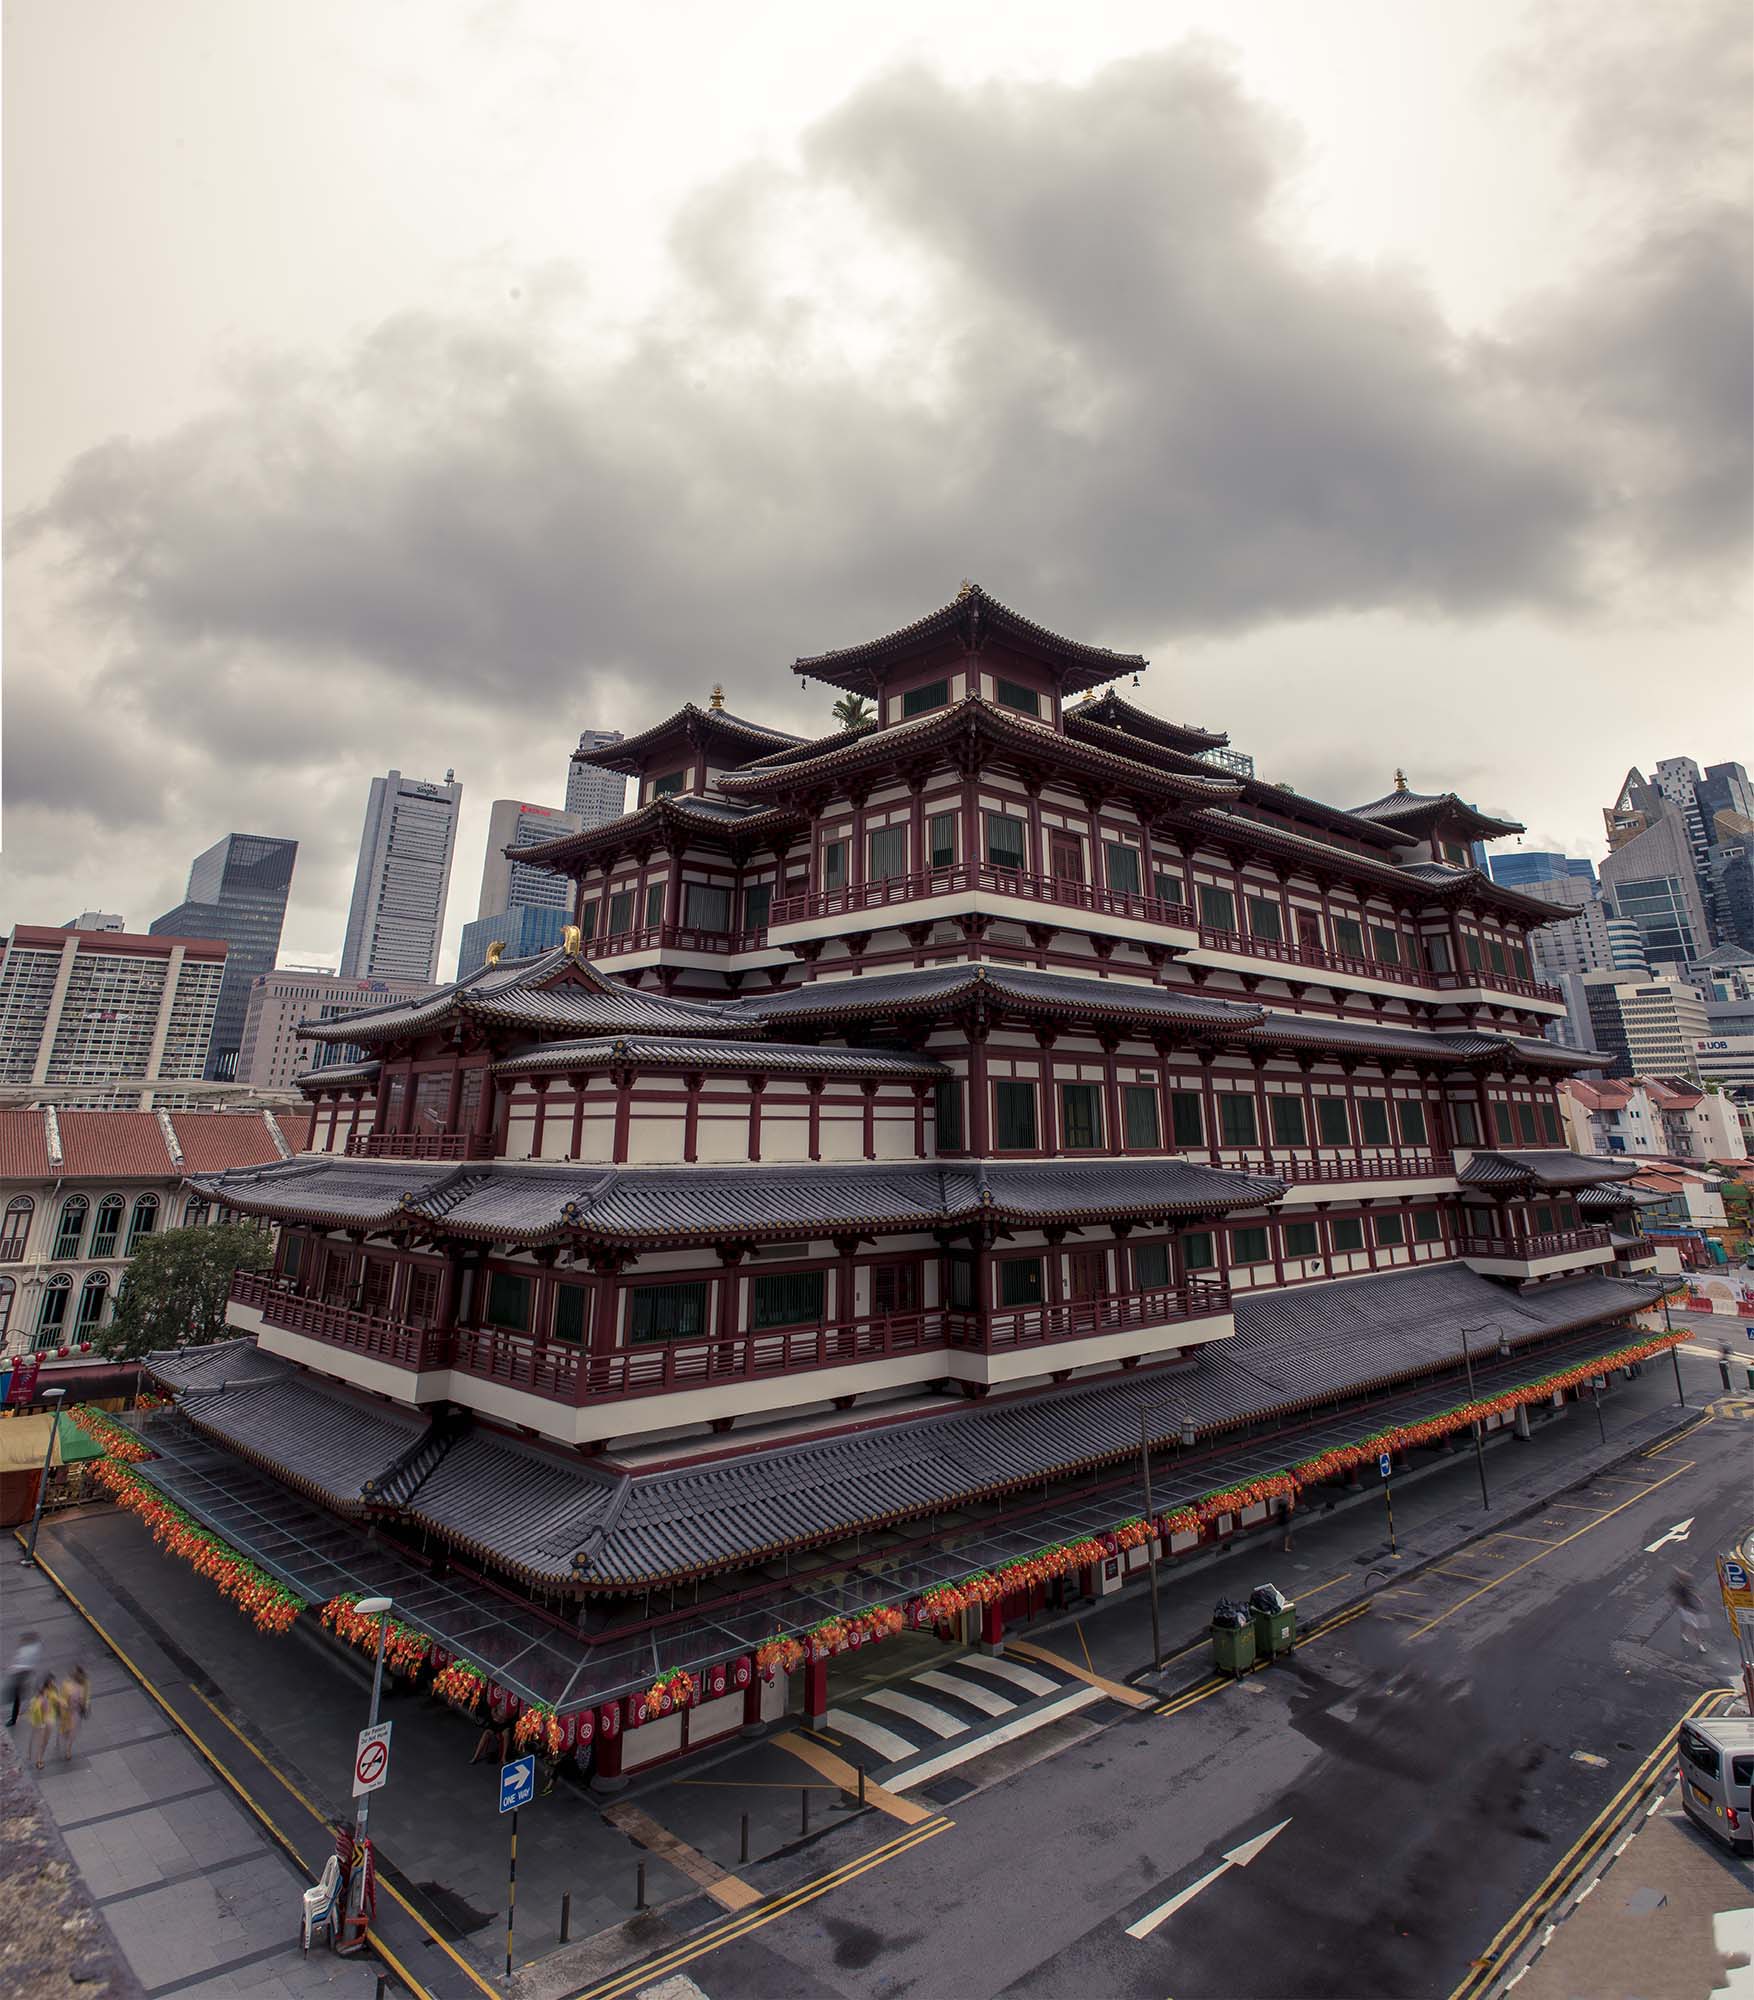
Welcome to a guide on how to do vertorama photography. You have probably already heard of a panorama, a long and ultra-wide photo. But what happens when we rotate it around and take a tall vertical photo instead? That will be what we call a vertorama, the cousin of panorama.
But strangely though, vertorama is not as commonly used by many photographers. So that is what we will explore in this guide, to give some love to vertorama, and understand how it is created by stitching multiple photos together in Photoshop – Read on!
P.S. Panorama is a recognized word and it can be found in dictionaries. But the word “vertorama” does not exist and is an “illegal word” – It is a combination of the words “vertical” and “panorama”.

NAVIGATION
TABLE OF CONTENTS

What We Need |

Step 1 |

Step 2 |

Step 3 |

Extra |

Closing |
WHAT WE NEED
RECOMMENDED EQUIPMENT
We can take a vertorama with any decent compact camera or smartphone, but that is not exactly what we are going to do in this guide. So for the “serious photographers”, we need some proper equipment to get started.
REQUIRED EQUIPMENT
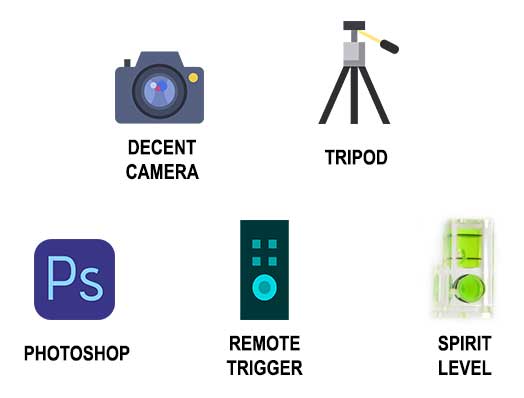
At the bare minimum, we will need the following:
- A decent camera
DSLR or mirrorless camera. Compact and smartphone cameras will work if they allow manual settings. - A decent tripod
A sturdy tripod is highly recommended for the heavier cameras, or you may need to do some yoga back-arching to catch the higher shots…
OPTIONAL EQUIPMENT
These are not required, but will make things a little better:
- Remote shutter release
Takes the hands off your camera, to reduce the camera shake. - Bubble spirit level
There is a “virtual horizon” feature in the camera to help you prevent slanted photos, but one of these tiny physical “bubble-in-water” gadgets will save you from fumbling around with the camera menu.
EDITING APP
Don't have a copy of Photoshop yet? Click on the banner below to check out an offer.If not, I will recommend a free alternative called GIMP, which will also need the Panorama plugin. I have not personally tried using GIMP on a vertorama though, but I am guessing it will work just the same.
Alternatively, there is an independent application called Hugin that can be used to stitch panorama. Again, I have not tried it with a vertorama, but it should work.
STEP 1
THE SETUP AND COMPOSITION
Every photo starts with planning and composing the frame. There is no difference when it comes to taking a vertorama, but here are a few things to take note of.
THE BASIC IDEA
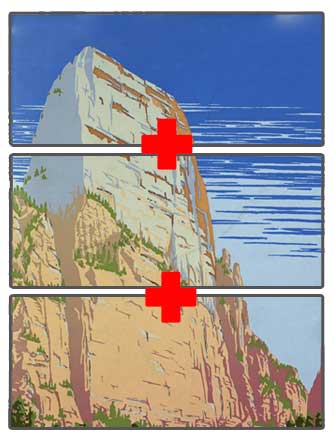
The basic game plan is simple, take at least 2-3 shots vertically. One for the bottom, one for the middle, and the last one for the top. We then stitch them together into a vertorama in Photoshop.
COMPOSITION CONSIDERATIONS

I guess the most difficult part about composition for a vertorama is that the frame size does not fit into a “standard” category. So how do we compose for a very tall frame? Surely, the rule of thirds is going to be very awkward for a vertorama?
But down to the roots, a vertorama is still a photo and all the rest of the basic composition rules still apply – Colors, lines, and shapes. Vertorama might be a little different, but just keep your eyes open for interesting subjects as usual – Place them in the frame, use lead lines to guide the attention, then balance out the colors and shapes.
PORTRAIT OR LANDSCAPE?
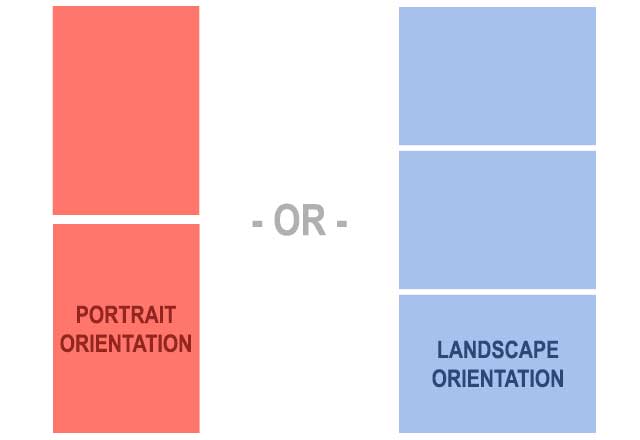
The next consideration is to either shoot in the landscape or portrait orientation. Both ways will work, but a stack of landscape shots will give us more horizontal frame space to work within the post process. But it will probably be easier with the portrait orientation, as 2 portrait shots should be sufficient to create a vertorama.
NINJA MOVES
When it comes to shooting vertorama, some beginners will probably instantly reflex to tilting the camera on a fixed spot. Well, there are actually 3 different ways to go about capturing those frames.
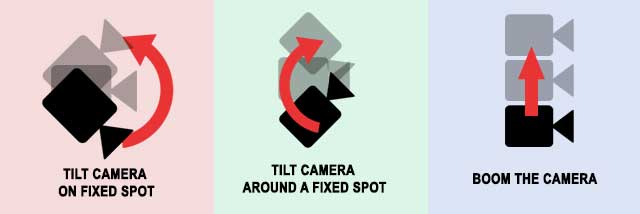
- Tilt the camera on a fixed spot, as discussed, is the most common method.
- Tilt the camera around a fixed spot – Not as common, but it is a trick that some people use on a tripod or hand-held.
- Boom the camera upwards. Which is probably the most difficult, as it involves using a very long pole or drone.
There is no right or wrong to each method though, just experiment and see which one works for you. Technically, booming the camera will result in the least distortion, but it is also not easy to achieve.
While we are still on the topic of camera movement – Some of you guys might want to do a quick search for “tripod l-brackets” or “tripod rails” – These attachments may cost a bit of money, but they do somewhat help with the camera movement.
STEP 2
HOW TO SHOOT
Take a shot, tilt the camera up, and take a shot again – That is how to shoot vertorama in a nutshell, but there are a few more things to take care of.
THE CAMERA SETTINGS
The important part about shooting a vertorama is to use manual exposure. So why manual exposure? Because if the sky is too bright, and the ground is too dark, we are going to have grossly differently exposed photos with the auto mode.
When we try to combine these unevenly exposed photos together in Photoshop, we will end up with an oddly stitched vertorama. That is why we need to use manual exposure to maintain uniform exposure throughout all the shots. If you are new to manual exposure settings, this is one trick to try out:
- Change to the aperture shoot mode and set your desired f-stop plus ISO.
- Now frame the “bottom piece” of the vertorama, take note of the shutter speed (don’t take a shot).
- Tilt the camera up to the “center and top pieces”, take note the shutter speed (don’t any shots again).
- Average out the metered shutter speed. For example, the bottom reads 1/200 sec, top reads 1/500 sec. The average shutter speed should be about 1/320 sec.
- Finally, change to manual shoot mode, and dial back all the metered settings.
- Take the vertorama shots, adjust the settings as you see fit.
OVERLAP THE PHOTOS
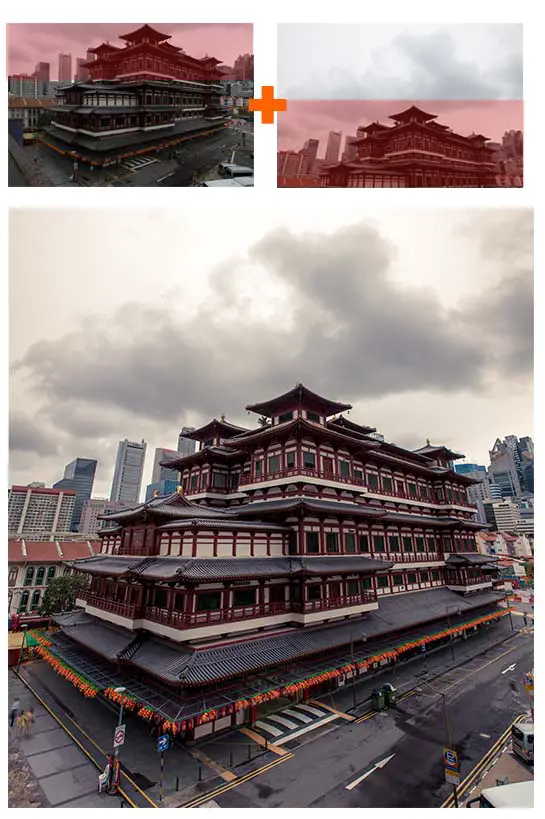
Start taking photos with the “bottom piece” and make your way up. While taking shots for the vertorama, remember to have some overlapping parts in between each shot… Or you will have a lot of trouble trying to stitch them together later. How much overlap is required? I will personally say at least 1/4 in between each frame, but I usually go for 1/3 to be safe.
STEP 3
STITCHING IN PHOTOSHOP
The final step involves stitching (combining) all the photos together. If you are already familiar with panorama, this is going to be a breeze. Sorry to the folks who are not using Photoshop, but there are plenty of alternatives that should work just as well.
COMBINE THE PHOTOS
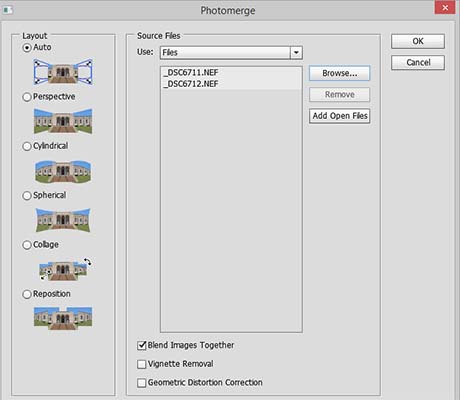
- File > Automate > Photomerge > Browse and select the files.
- Keep the “blend images together” checked. Vignette removal might be good if your lens vignettes quite a bit.
- Just use “auto” for the layout, it usually does a pretty good job. But if the combined image looks strange, feel free to try out the other layout methods.
CROP AND FIX
When Photoshop is done, you might want to save this image as a separate PSD file. The following process is going to be a little bit “destructive”, and you cannot “undo” it.
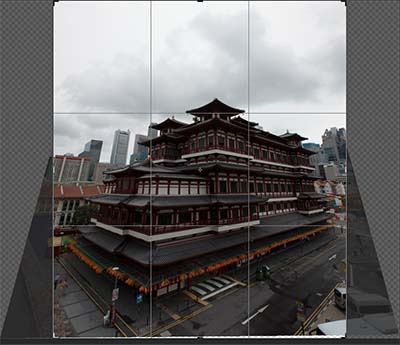
- Merge all the layers (select all layers, Layers > Merge Layers)
- Crop to an acceptable frame and try to straighten the horizon (it is OK to have some “empty spots”)
- Use the lasso tool to select the “empty spots” or “places that feel wrong”, content-aware fill (Edit > Fill > Content-Aware)
FINAL IMAGE ADJUSTMENTS
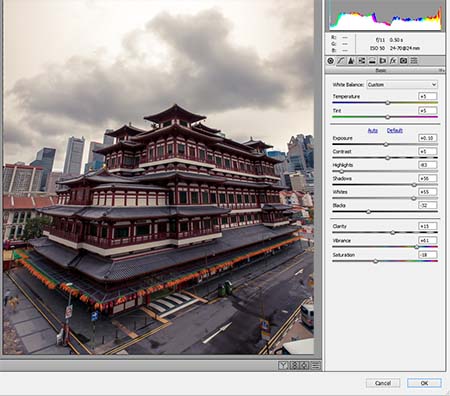
Finally, clean up and adjust the image.
- Clean up the image, remove dust spots using the spot healing brush.
- Filter > Camera Raw > Adjust exposures as needed.
- Done! Resize the image and save a copy for social media if you want.
EXTRA
VERTORAMA TIPS
That’s it for the guide, and here are a couple more small tips and links that may be useful to you.
BEWARE OF MOVEMENT!
Take extra note of moving subjects in the photo, as they might affect the final stitched image and make it look strange. For example, people flying kites in the photo. The strings of kites may get “cut” at certain points and look strangely broken in the final vertorama.
PROBLEM WITH UNEVEN EXPOSURES?
If a single spot is way too bright, there are a couple of ways to deal with it.
- Ignore and let it be over-exposed, go with a silhouette if possible.
- Shoot in RAW. Let it be over-exposed a little, and attempt to recover in Photoshop.
- Use a graduated ND filter, but use it only in 1 shot, covering only the over-exposed spot.
LESS VIGNETTE LESS WORK
Remove all unnecessary filters and try not to stack any filters. Vignetting can be a pain to fix in Photoshop.
LINKS & REFERENCES
- How to Shoot Vertical Panoramas (Vertoramas) – Digital Photography School
- What is HDR Vertorama photography? – Timothy Selvag
- 30 Awesome Vertorama Shots for Inspiration – Artfan Design
CLOSING
NO MORE READING. GO OUT AND SHOOT.
Thank you for reading, and we have come to the end of this tutorial. If you want to add anything to this guide, please feel free to comment below. No training is complete without practical action, practice makes perfect. So go out now, try out your newfound ninja skill and have some fun!